This
page shows work on
the El Camino.
Jan
2009 to December 2010
July
2006
the car got a name: 'Elkenstein'
There are so many parts on it now, from all sorts of different vehicles.
Even though it dies once in a while, it keeps coming back to life.
Click on the pictures
to see larger views.
Use your browser's 'back' button to return to
the page.
January 2006 to February 2007

It's been a while since the El Camino got anything new. Just got wires and looms in billet Aluminum 1/2009
On March 6th 2009, I was hospitalized for surgery for Arthritis in my spine. I had a laminectomy on L4 & L5. As of July 2009, I am walking 2 to 3 miles a day again, and not in pain as I was for almost a year. Thank God, every day, for good health. There will be no more engine swaps without lots of help, in this lifetime.
I want to install the 200-4R transmission I got from the 1987 Monte Carlo SS parts car in to the El Camino. These are the initial measurements, confirming that I need to have an extension added to the frame to make this work. I won't be doing this on my own (see above)
Click on all all these pictures to see a larger view.
NOTE- In late 2010 the Transmission went out on the Monte Carlo. So the transmission from the parts car Monte is going in there. I will probably go with a 700 when the time comes for overdrive in Elkenstein.
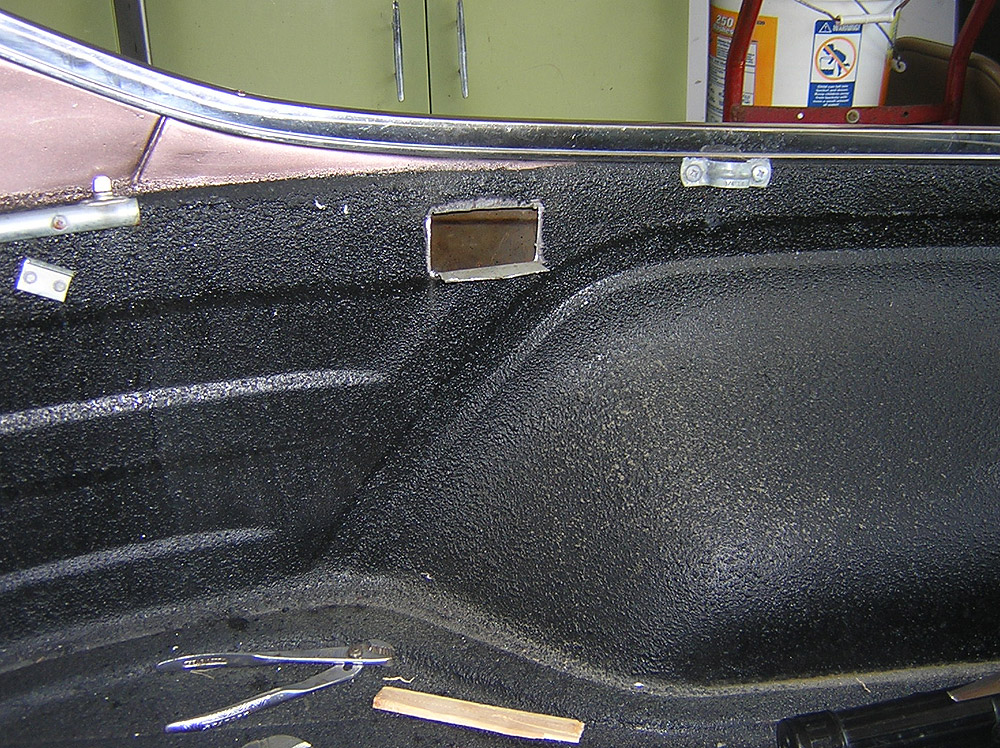
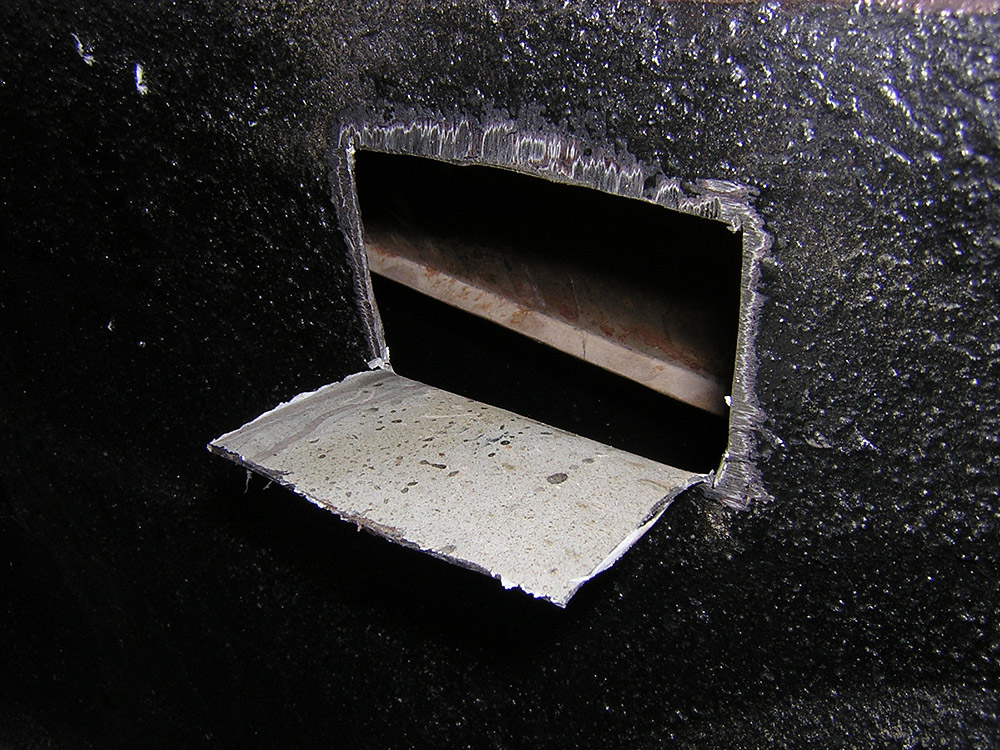
I have had enough of the loud rattle sound coming from the right rear quarter panel, over RR tracks and big bumps. I had this noise just after the body work in 1998 too, and the body mad bit a strategic screw in, but it started up again.
I started by cutting an inspection hole in the inner bed on the passenger side, hopefully in an area that would work to diagnose the problem.


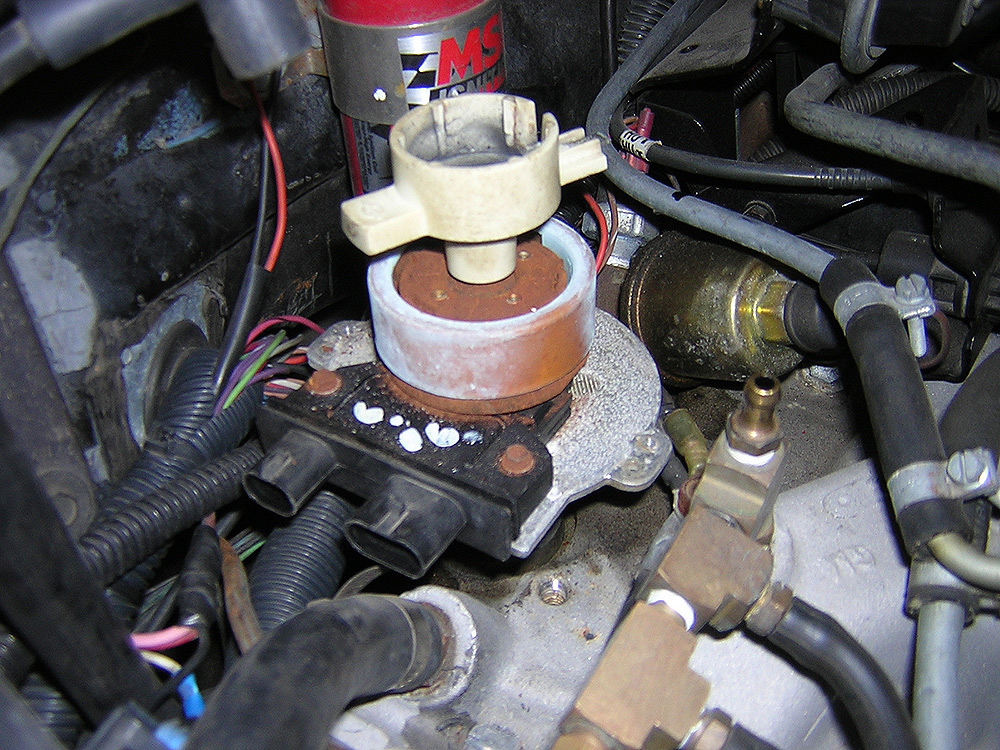
I bought a new steering gear for the El Camino. It was really sloppy, and there was over an inch of play at the steering wheel before anything happened at the tires. (way over) It was getting pretty scary, and no one wanted to drive it. The part number I used was A1 Cardone 27-6550 for a Monte Carlo SS with a little higher effort, and 2.5 turns lock to lock. It's pretty forgiving on center, so I think it may be a variable ratio box. It has much more road feel than the one I had in there, and a lot less twitchy.
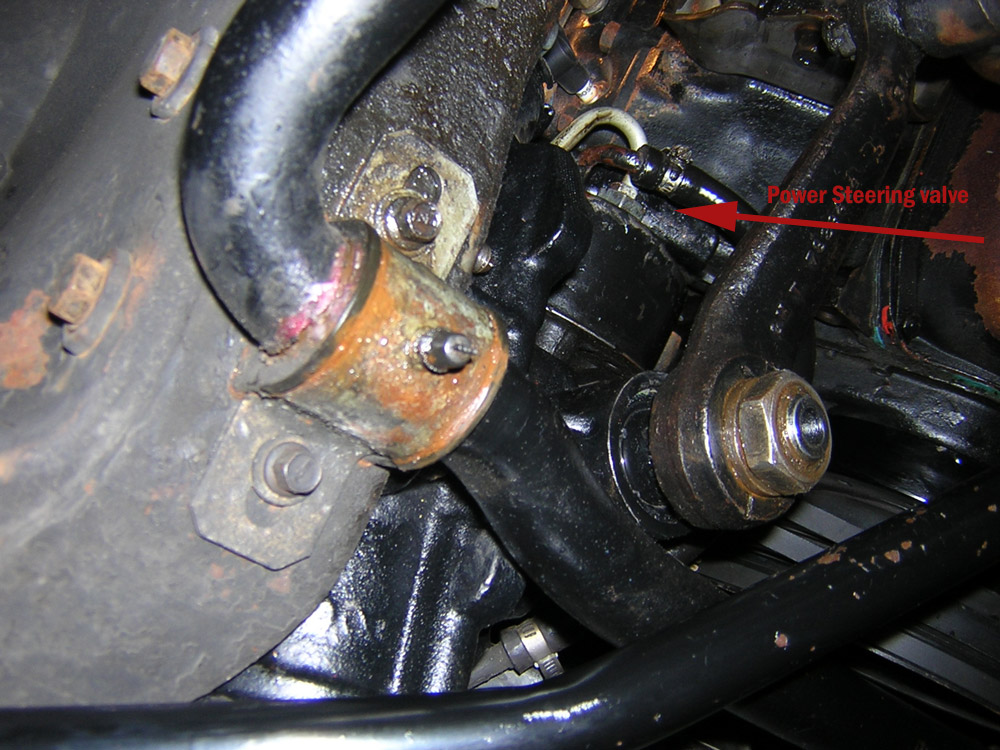
When I first drove it, everything was great. I had Tom drive it, and it acted like no power steering around one corner. By the time I got it home, it did the same thing to me a couple times. I drove to work, and everything was fine, till I was in the lot at work. Coming home, it got to the point where it didn't seem like I had any power steering at all.
Quick call to tech support (Robert has saved my ass more times than I can remember now .... Thanks!!) The valve is the 1" nut next to the 5/8" fitting with the fluid line pointed out here. (click to see a larger picture)

The part in the center of this picture was stuck against the opening in the valve to the right. When I took that part out, the plunger was solid in place. I couldn't get it out with a magnet, but when I forced it in, it broke loose and the spring pushed it out. I cleaned it out, with carb cleaner and air, then cleaned out the inside of the pump. I lubed up the plunger and worked it in there making sure it would move freely, and put it back together. It works great now. Even at idle at a dead stop.
This is a modified valve setup. Here is the link to give your g-body more pressure at the power steering pump: http://jeffd.50megs.com/Pump_valve_mod_page.htm Thanks to Jeff Davidson and Robert Adams
2010
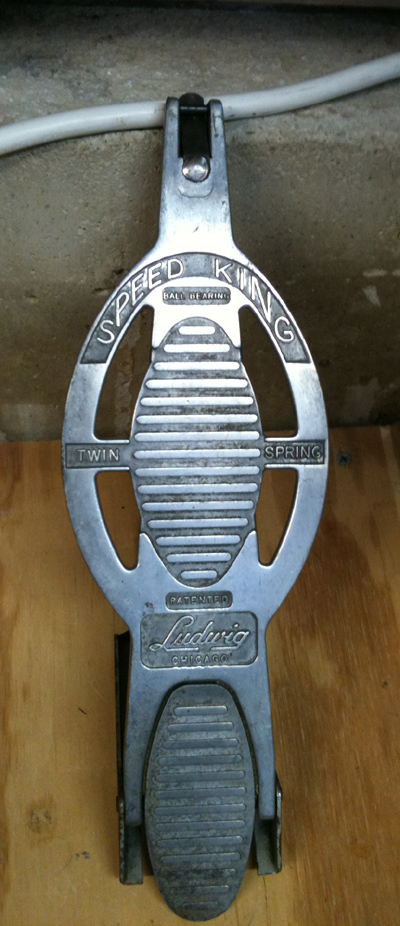
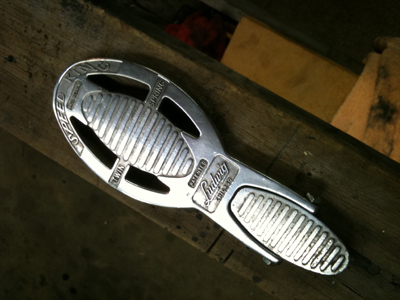
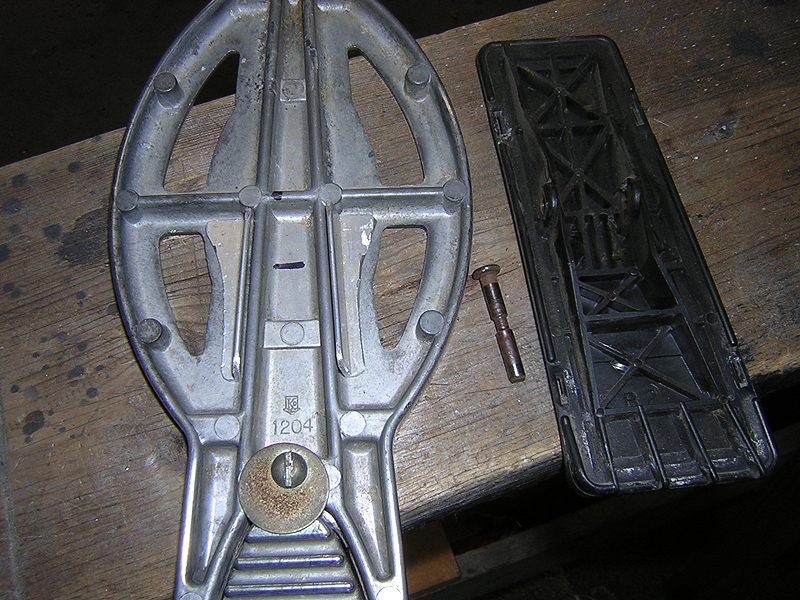
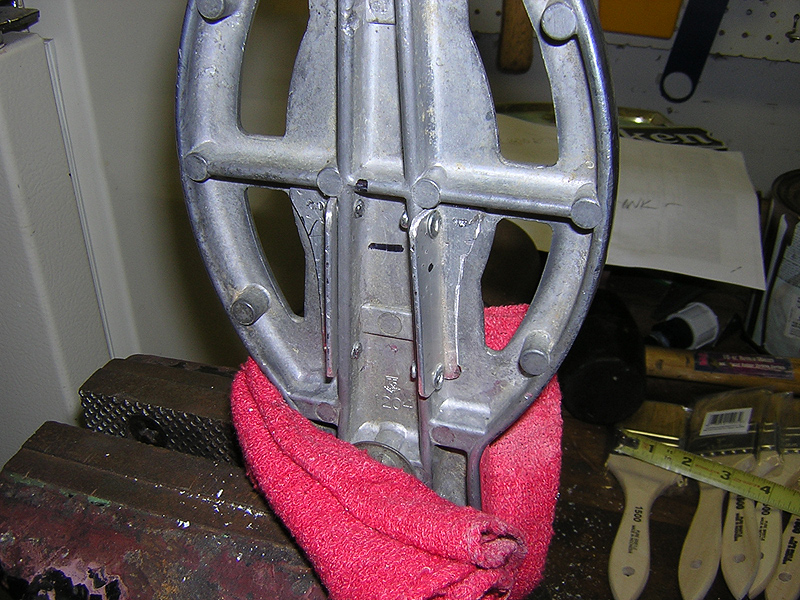
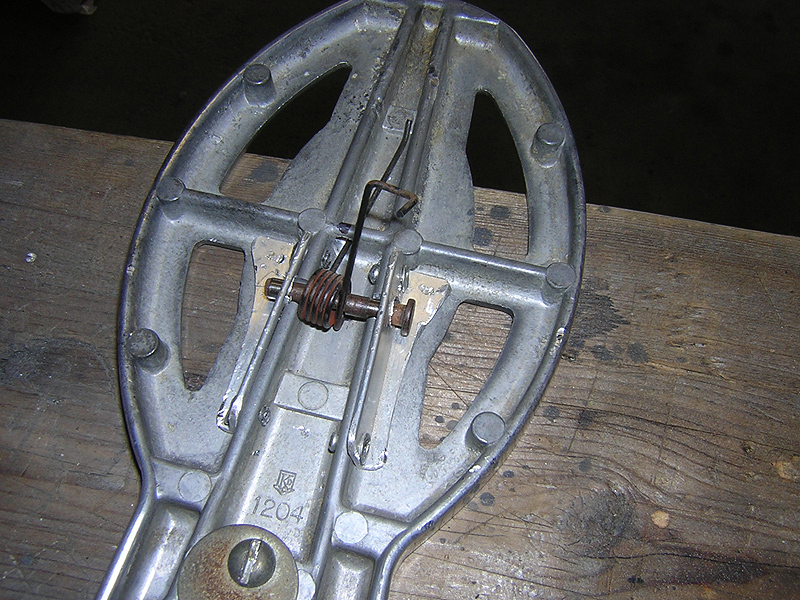
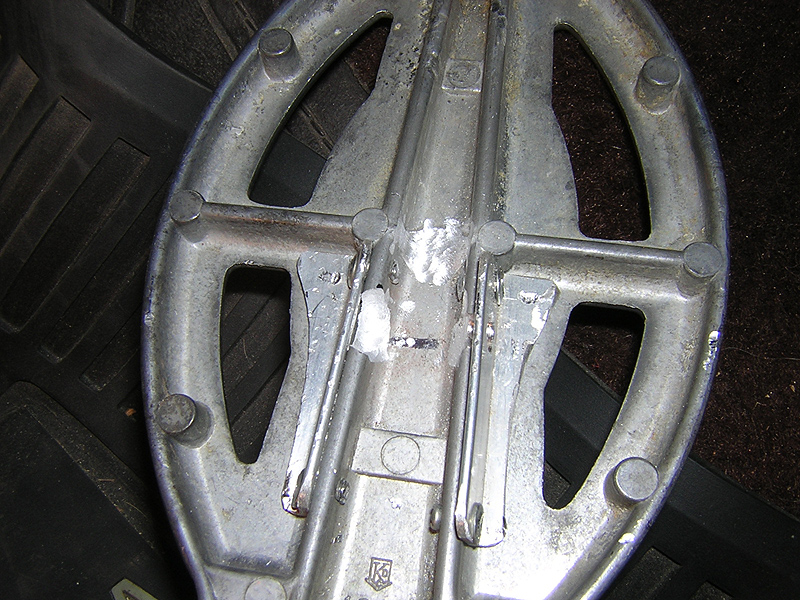
LUDWIG SPEED KING DRUM/GAS PEDAL.
This was my old bass drum pedal from when I bought my vintage 1967 Ludwig drums. I have owned the drums and the pedal since about 1976. I started using an upgraded Ghost pedal for playing in Jonesin', but always kept this one. I saw a TV program called "Gearz" and they were using one of these on a hot rod for a gas pedal, so I immediately went to storage and started plans to get this on my El Camino.
(click on the pictures for a larger view)


4/28/2010
Friends ..... Check your brakes more often than I did. Don't assume that the wear indicators will make noise before the pads are shot. I replaced these with Centric Posi-Quiet premium replacement pads. They work real good. I would guess they were in there for maybe 7 years.

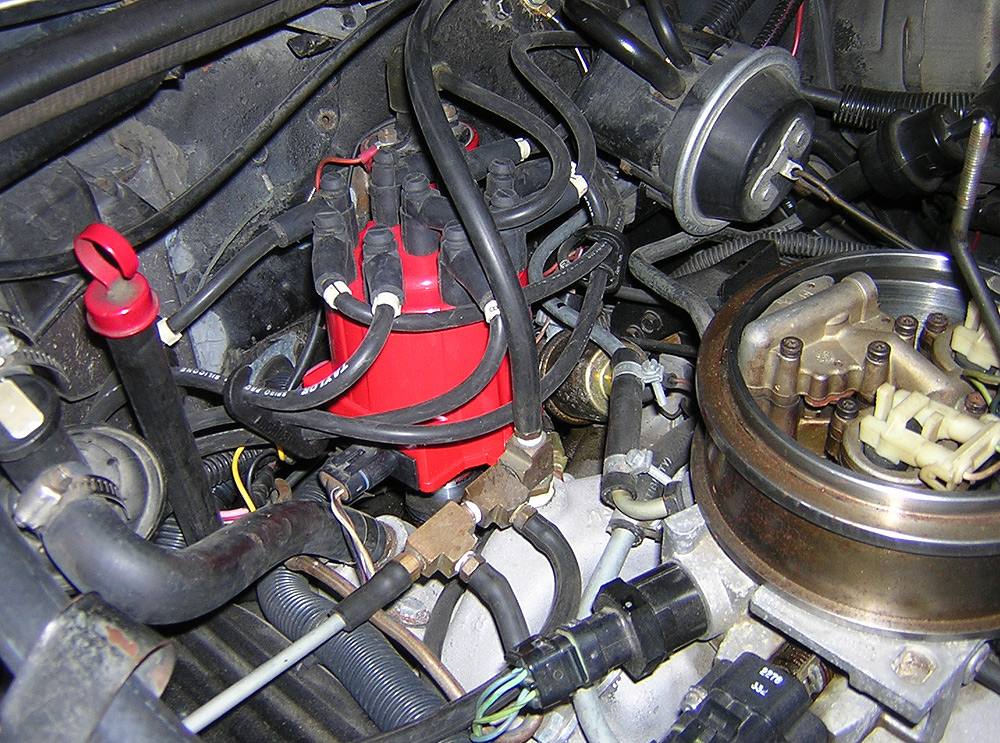
This is the new MSD 8366 Pro Billet Distributor for EFI.
See partsforspeed.com for a really great deal. Thanks Chris!


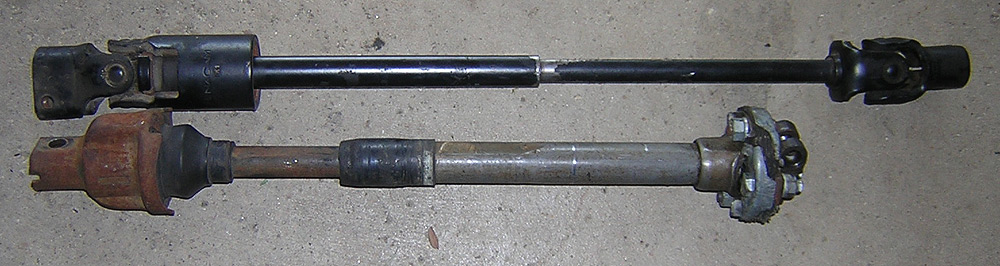
Nate and I had some fun going to the Salvage Yard on our day off. We came out with this 1993 Jeep Cherokee steering intermediate shaft for $25 It has the same splines and same D opening at the wheel side as the GM G-Bodys.
This is supposed to be a really good upgrade from the detroit style upper joint and rag joint on our cars.
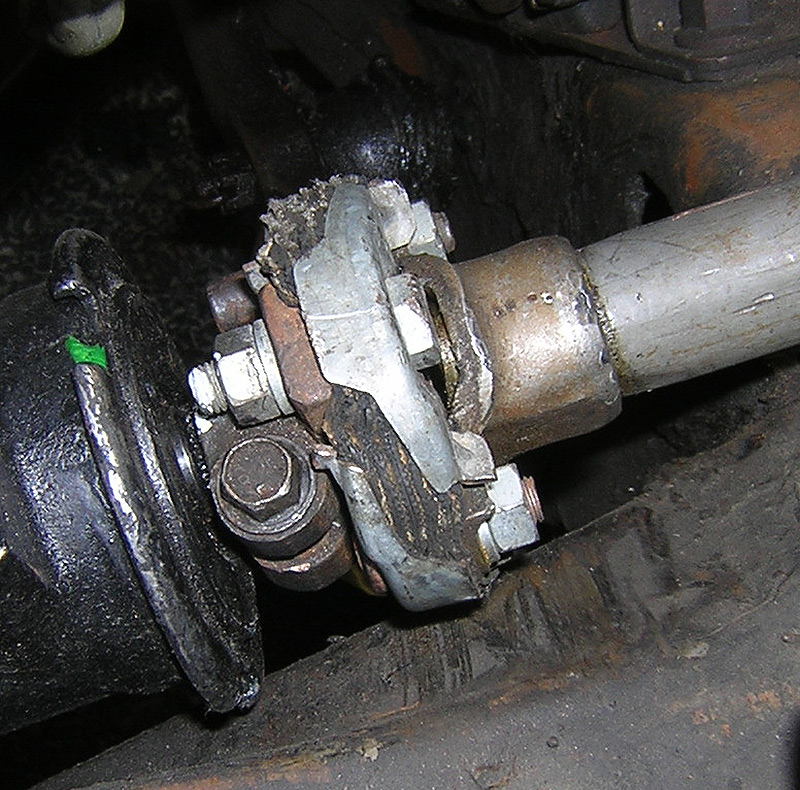

This shows the upper joint with an intact boot. This is the 3rd one I have had on the car. The other 2 were trashed here. I transferred the rag joint each time.
This mod is to be continued, after I try to persuade the new shaft to compress with a BFH. Robert swears it will work..... Just have to get violent first. Good Therapy I say.
This one never worked out. The BFH did nothing. Part for sale......