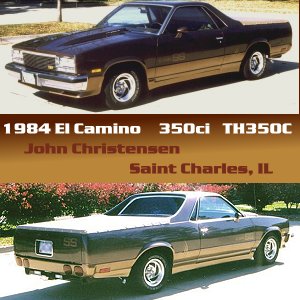
This
page shows upgrades to the El Camino from
2006-2007.
In
July 2006
the car got a name: 'Elkenstein'
There are so many parts on it now, from all sorts of different vehicles.
Even though it dies once in a while, it keeps coming back to life.
Click on the pictures
to see larger views.
Use your browser's 'back' button to return to
the page.
January 2006 to February 2007 (This Page)
Page 1 - Page 2


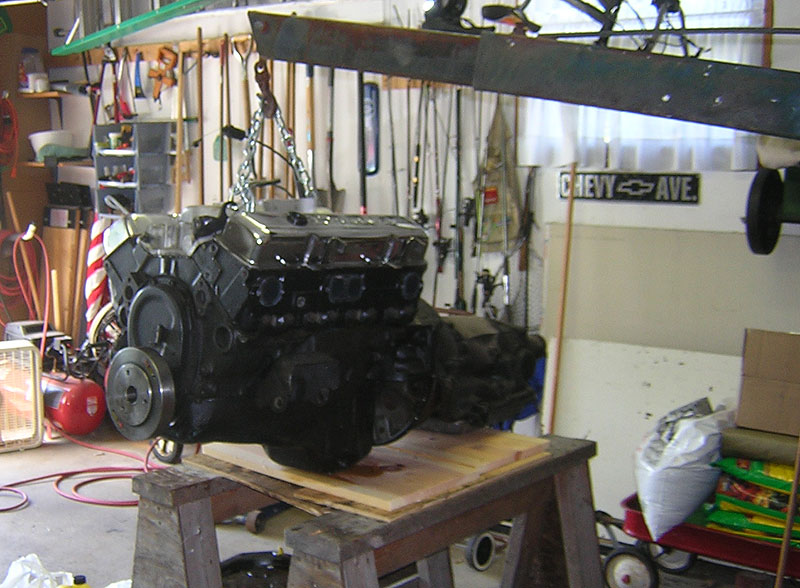

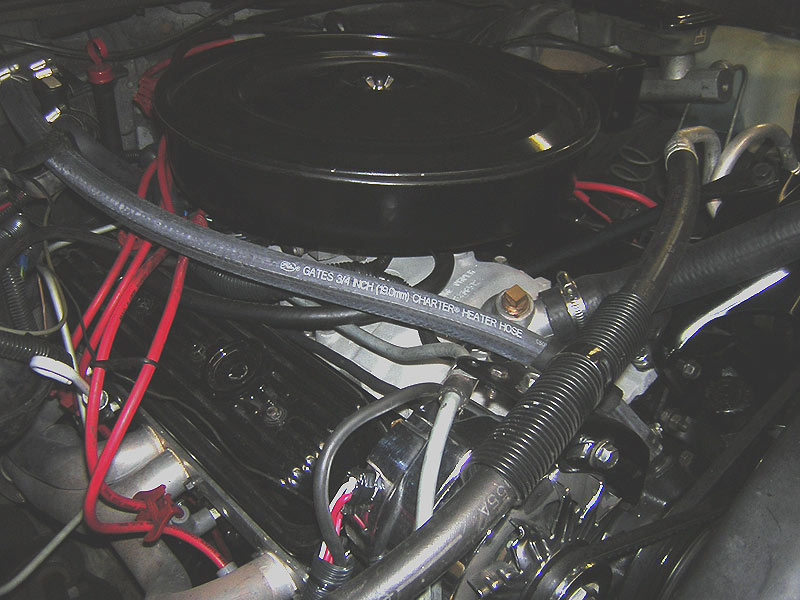
I assume it's stock. But then, I am told that the El Camino's didn't come with a 350C. This is a lockup style.


Click on any of the pictures to see larger views. Click on this one to see the specs it was born with. I think we can bump the HP up a bit, with the bore and cam upgrades.
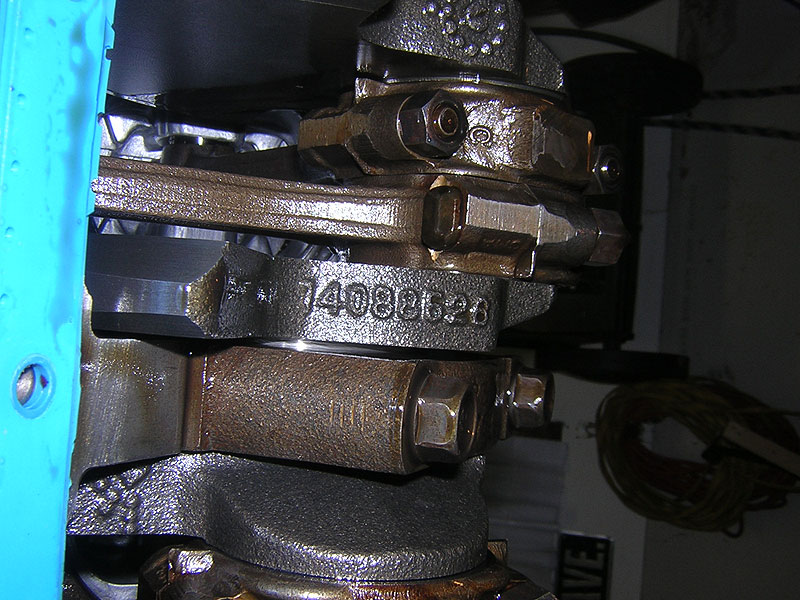
Casting numbers on
the block are 14093638
Casting numbers on the heads are 14096217
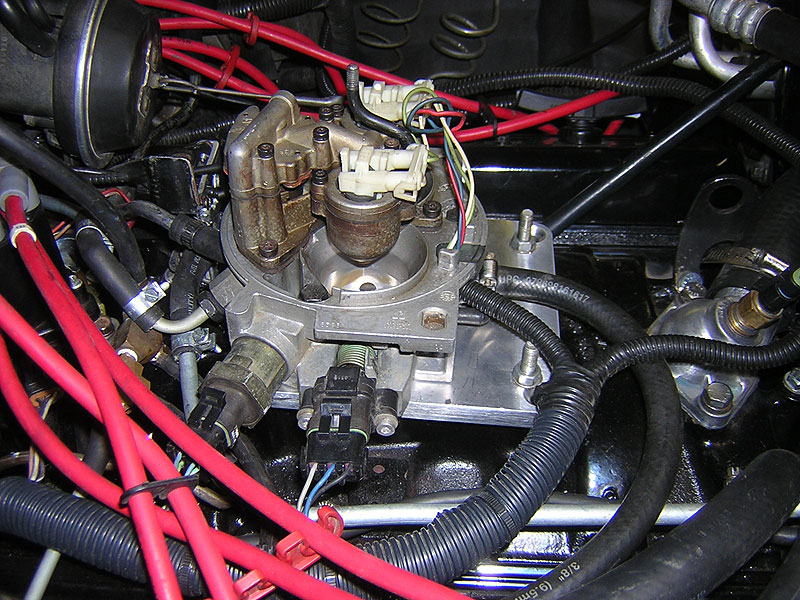
Aug. 1 2006 It's
running again.
I have some clearance issues with the linkage, and air
cleaner.
Looking for
a stock
truck or F body TBI manifold to correct the issues. The fuel lines
are really cramped next to the vacuum lines too.
Nice to have it back
on the road though.
For more updates on the TBI updates,
go to this page - TBI Conversion Page 4

After the melt down of the fusible links, I used a wire nut to connect the wires. This is a lot fancier wire nut. Thanks to Mike Huber for this part. About $28 & shipping. I only found 100 and 40 amp maxi fuses on my initial run. Mike had some recommendations, but I don't have them handy. More later.
See the 18 ga copper strip that has tabs running in to 3 terminals to connect them to the hot wire. This hot goes to the top post on the battery, that was not used until now.

This is the finished installation.
You can see the fender ground wire with the minus sign right next to it.
Right now it's Ignition power and MSD on the first one, lights next, then the heater - A/C fan. The one on the right is the starter wire. It's in line with the small post on the remote solenoid.
These wires are in the convoluted tubing all the way from the firewall connector, running above the engine instead of below it.


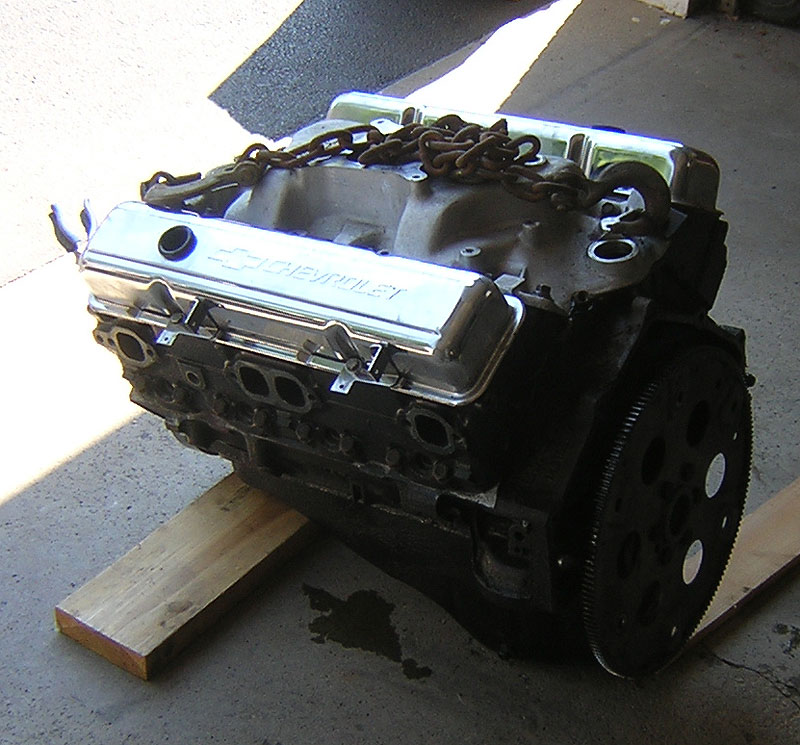
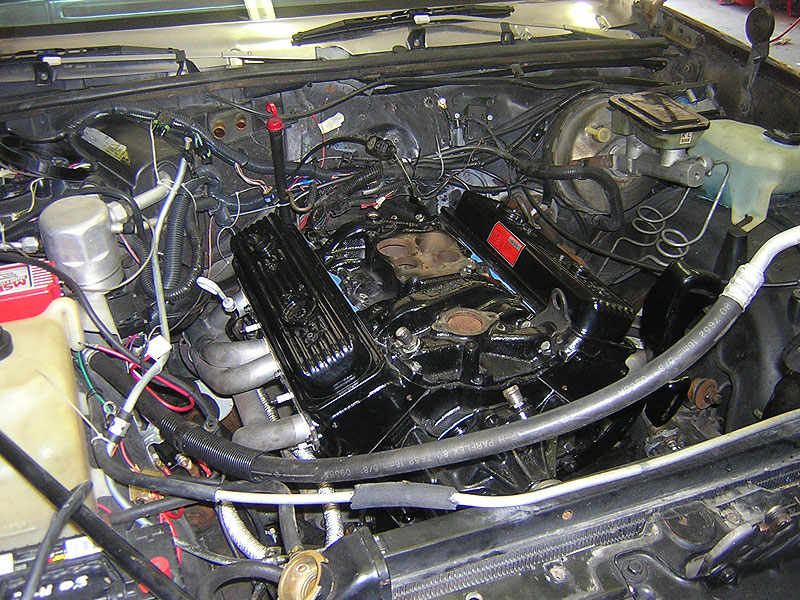
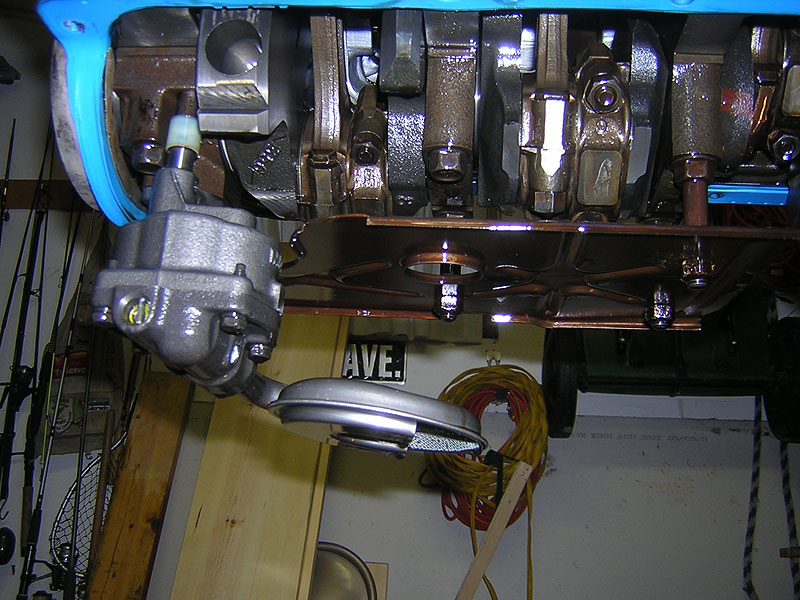
9-2006 finally got the dedicated Aluminum TBI intake installed (eBay purchase, $25 shipped)
See this page for reconditioning of the intake.


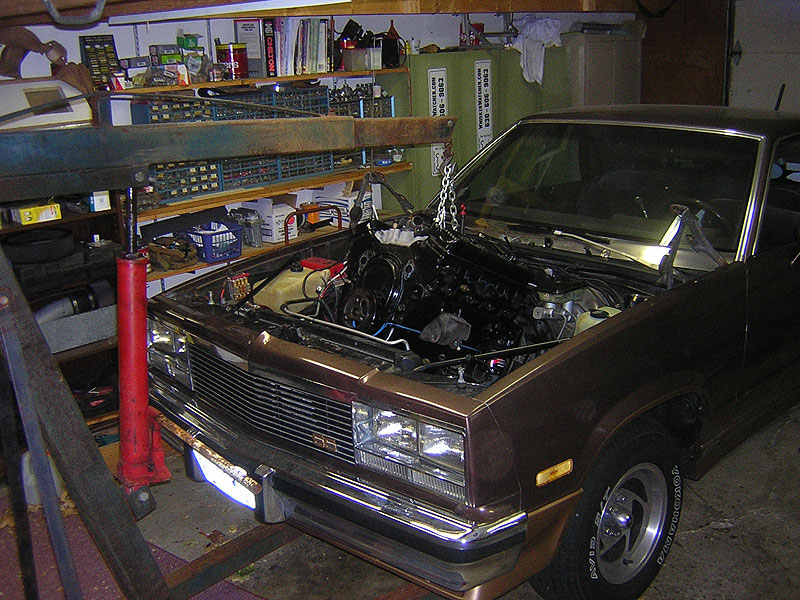
10/7/2006
Catastrophic Engine Failure.
I heard a knock in the engine on the way to the store.
When I came out with the groceries, and started the engine, there was
a big BANG, but the engine kept running. I looked under the car, and
there was oil spraying out, so I shut it down.
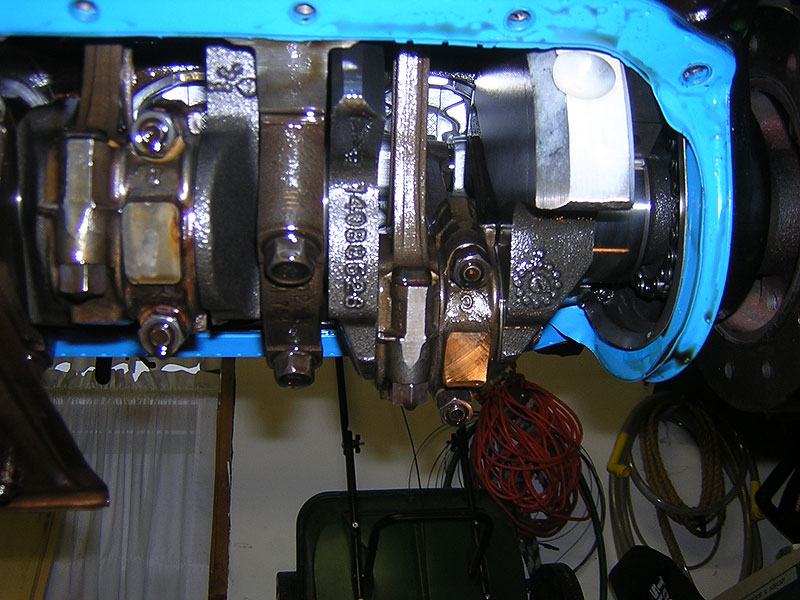
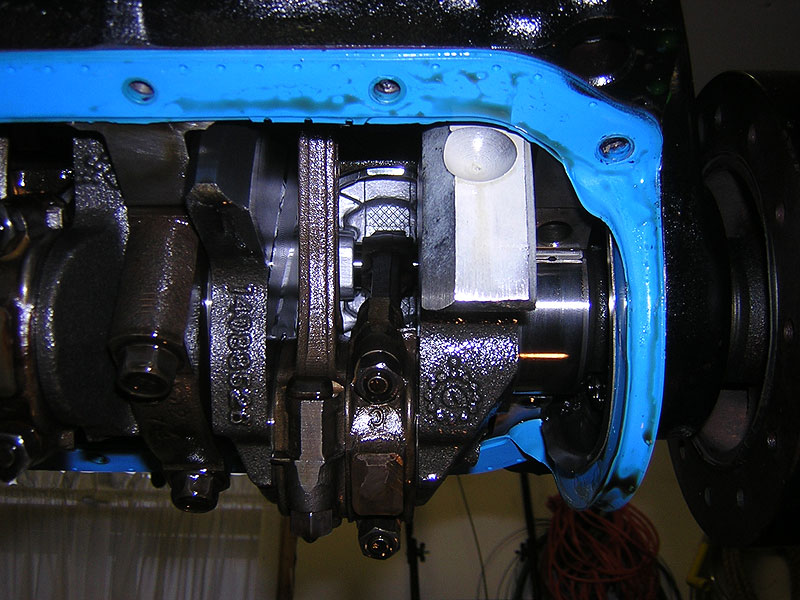
Under the car was a big pool of oil, and 2 broken bolts. The front main bearing cap had come loose, and the crank caught it and blew it right through the oil pan.
The El Camino is out of commission untl at least January, when I can get a new long block.
If you click on the picture, you can see the main bearing cap poking out of the passenger side of the oil pan.

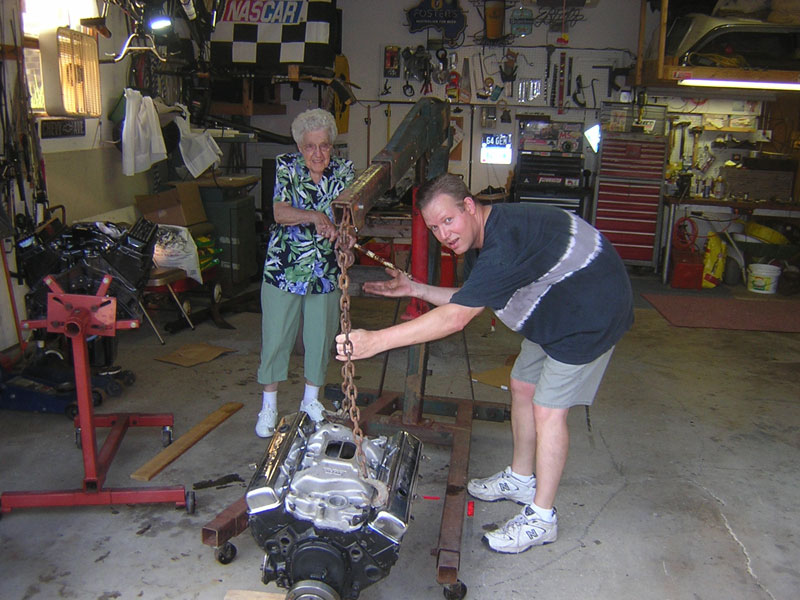
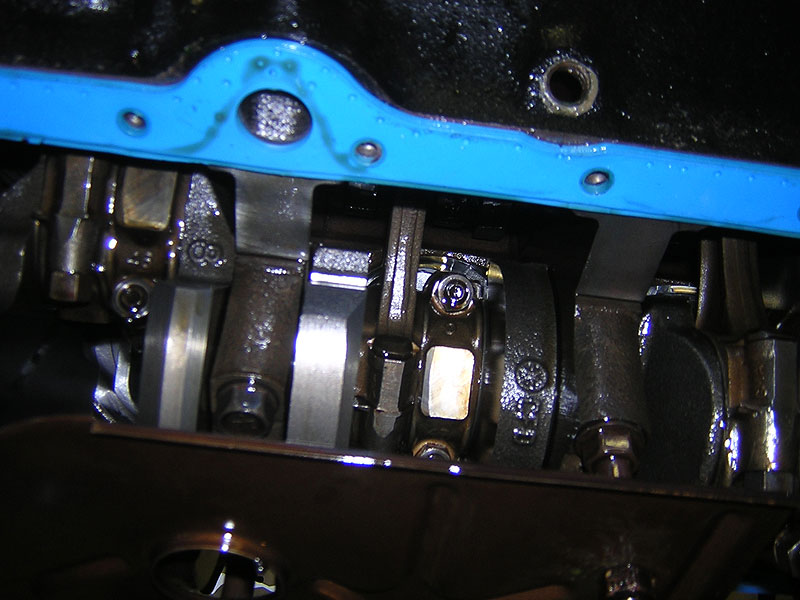
3 months after the event, the motor came out again. I have all the top end cleared away in this picture. You can see the front main bearing cap sticking through.
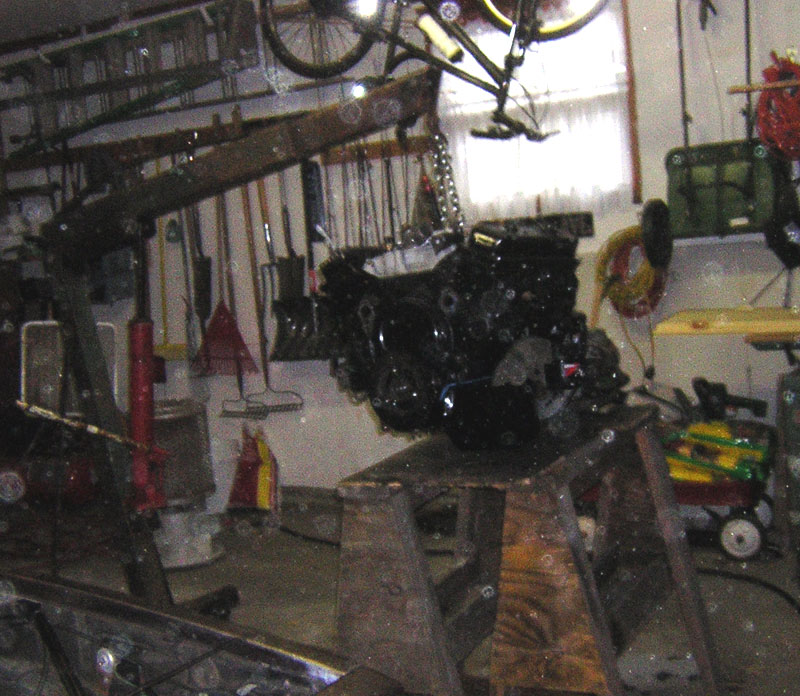
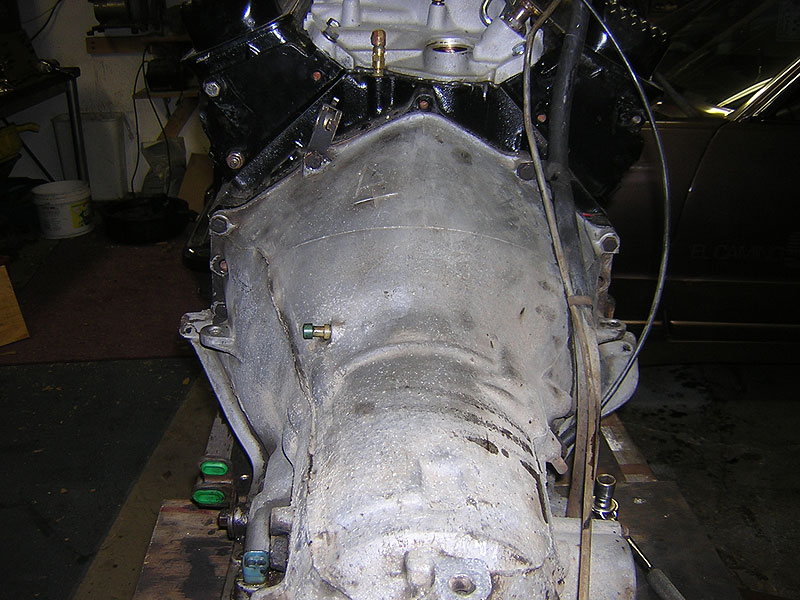

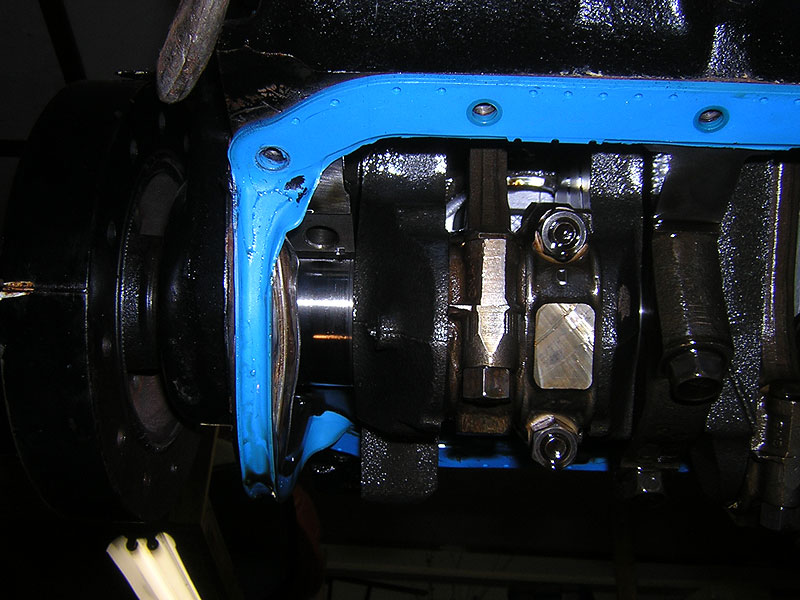
All ready to load out to the machinist.
More to come......

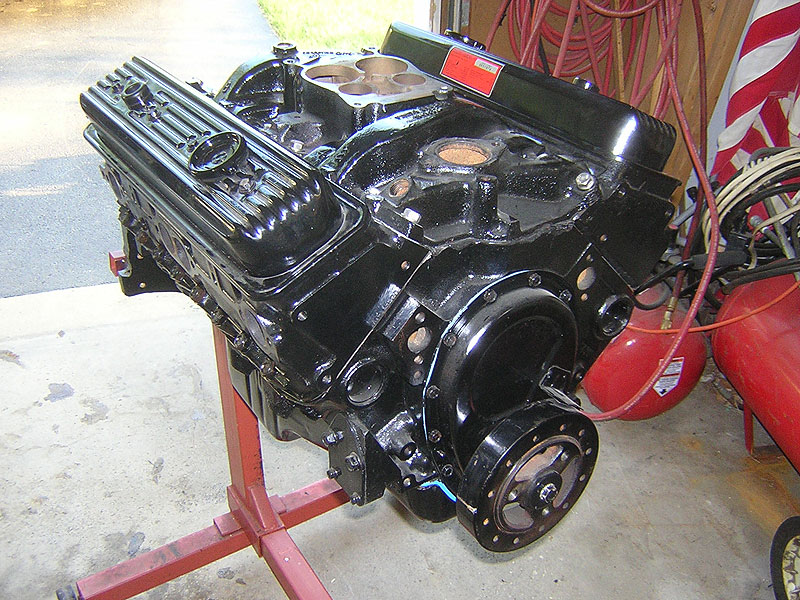
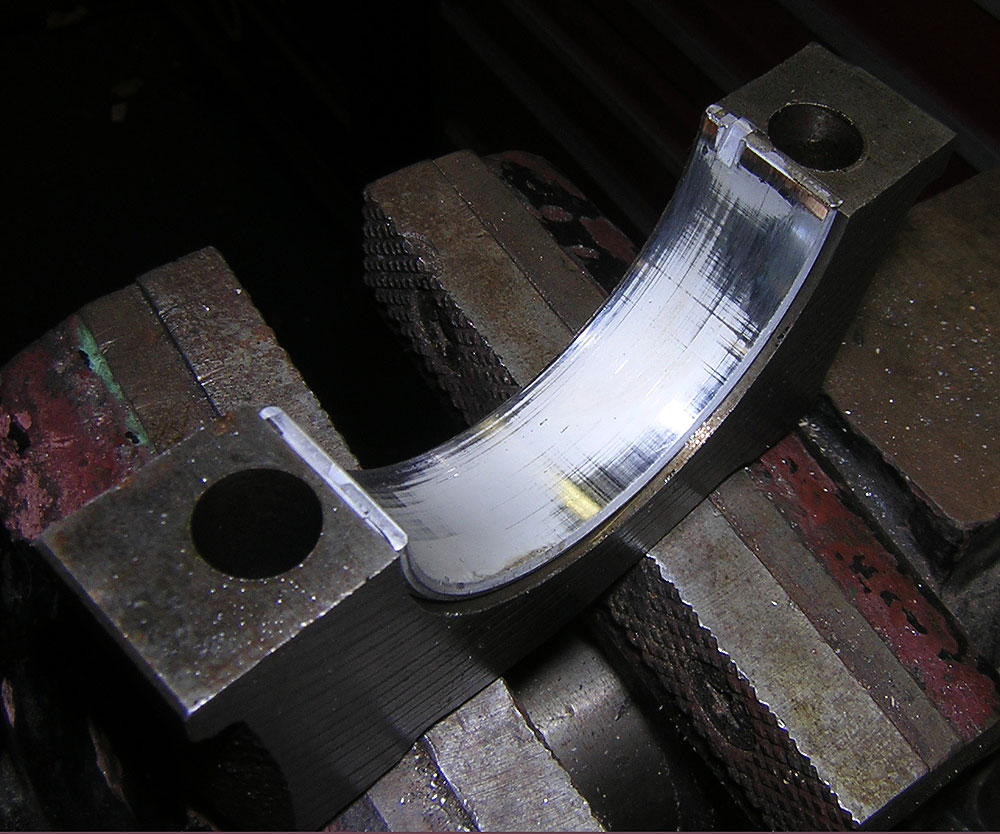
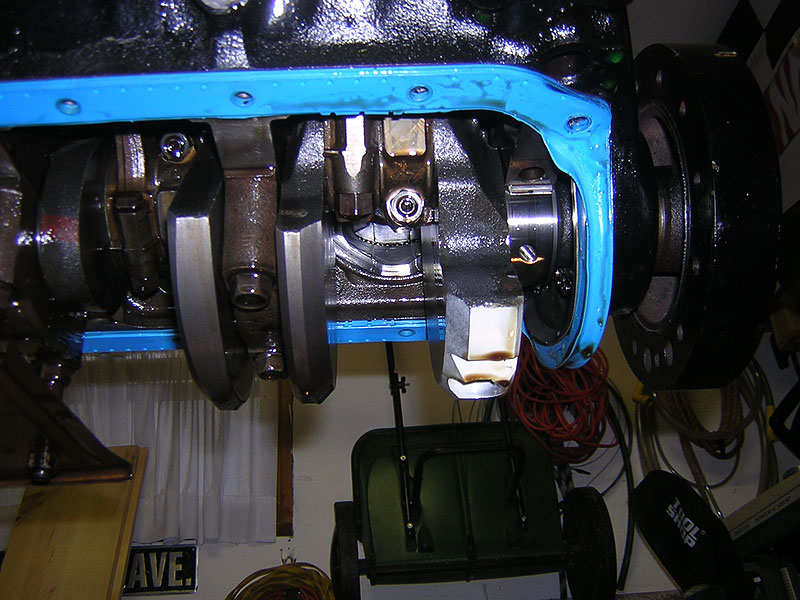
2/27/2007
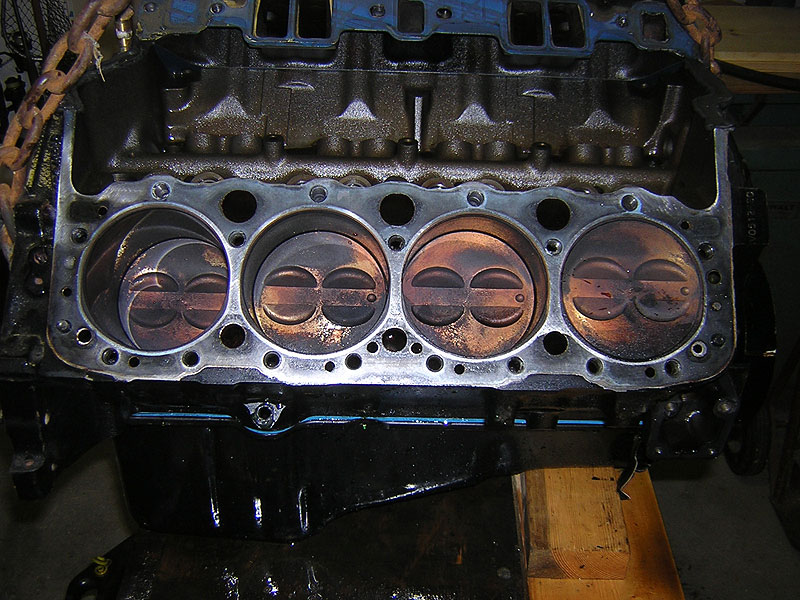
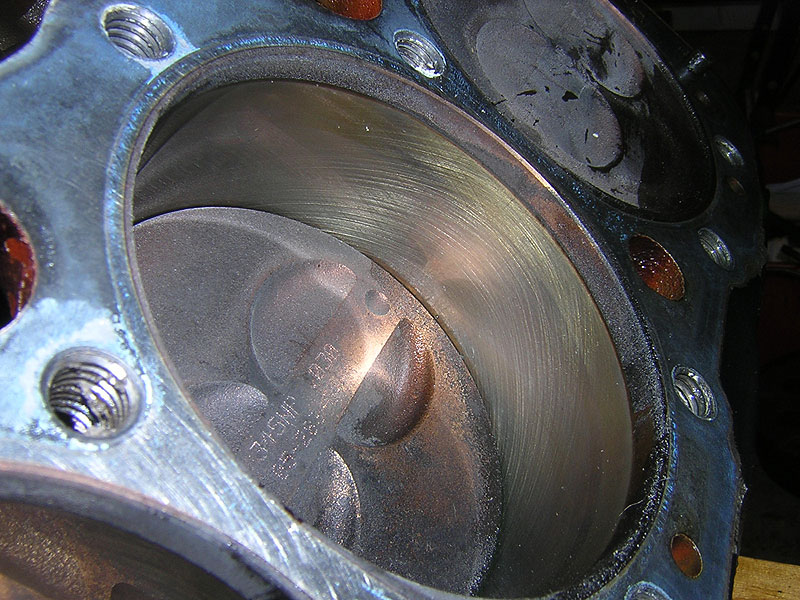
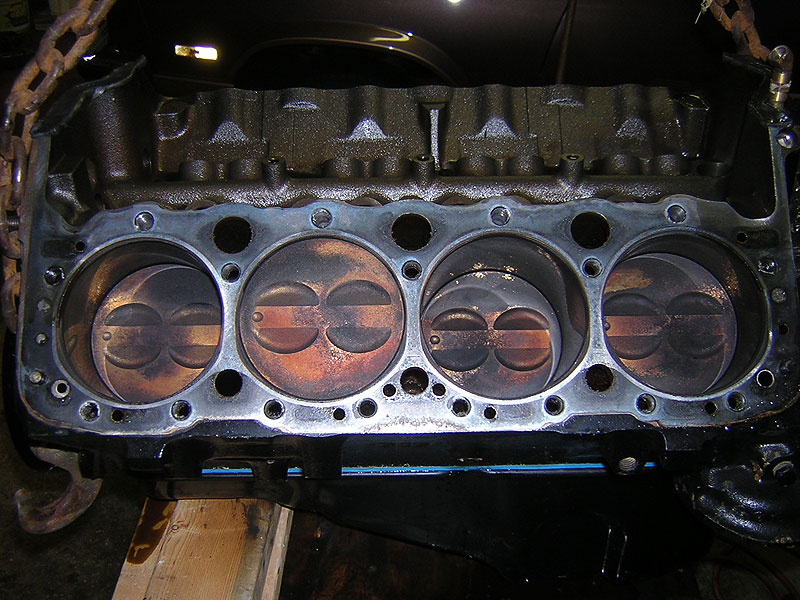
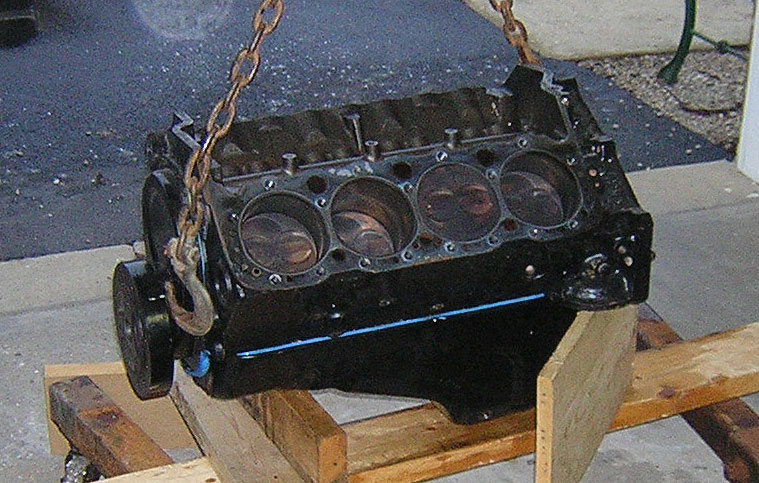
I visited the machinist today, and he had the engine back together. He reconditioned the whole thing, and put new bearings and rings in it. Looks good.... see picture.
I dropped off the heads and he is going over them to make sure everything in OK before I put it all back together.