This page shows upgrades to the El Camino from 2007-2008.
July
2006
the car got a name: 'Elkenstein'
There are so many parts on it now, from all sorts of different vehicles.
Even though it dies once in a while, it keeps coming back to life.
Click on the pictures
to see larger views.
Use your browser's 'back' button to return to
the page.
January 2006 to February 2007
March 11, 2007
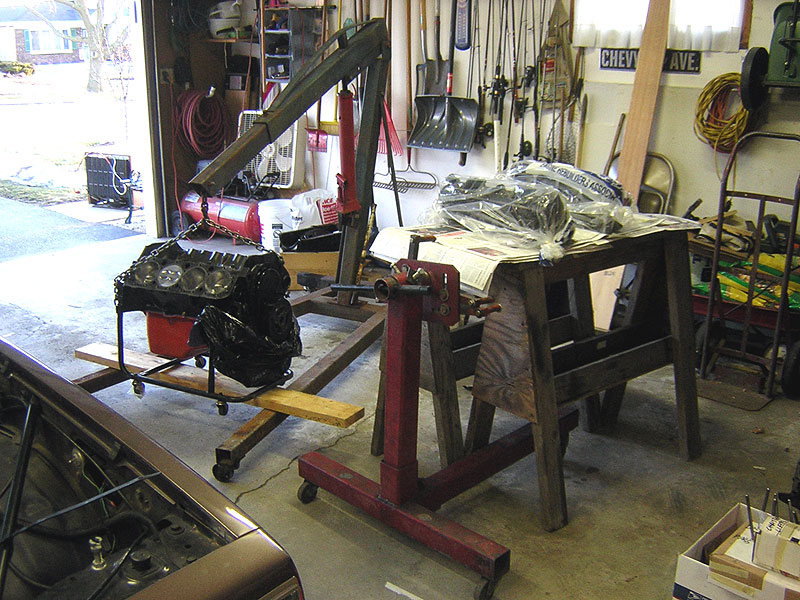
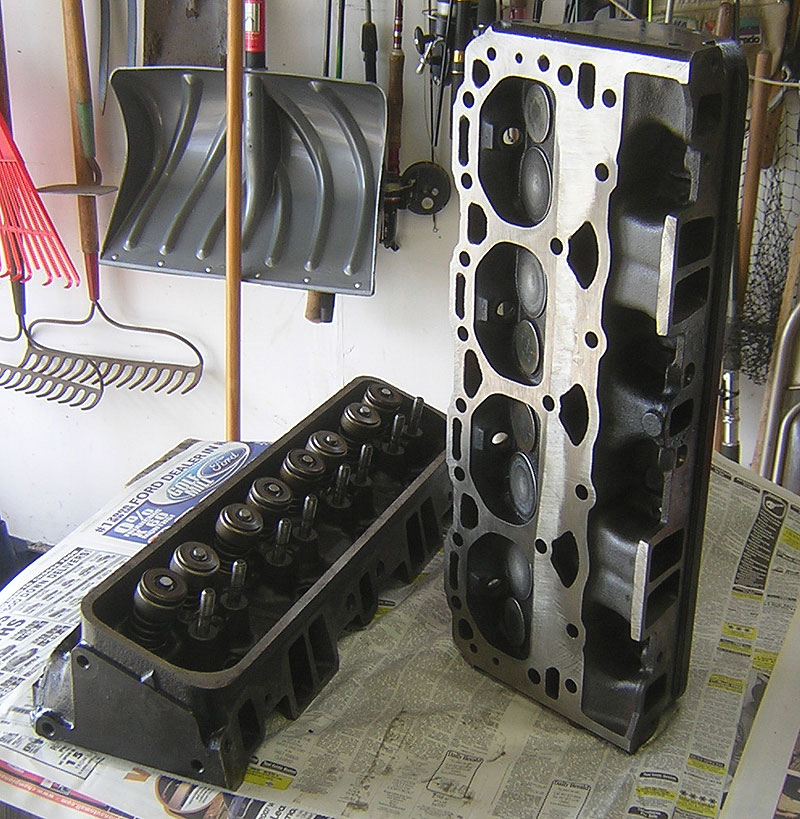
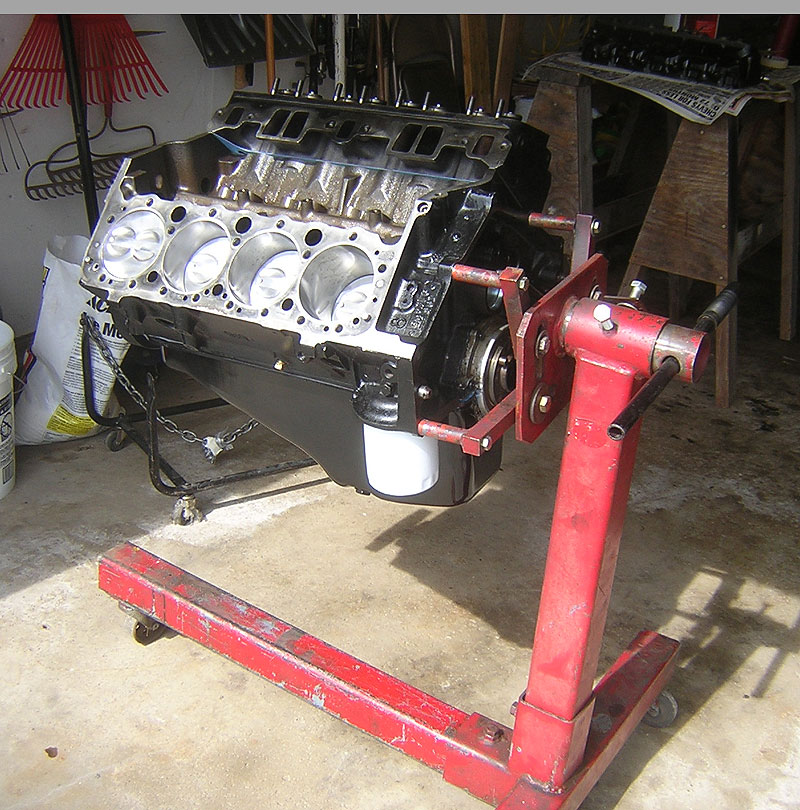
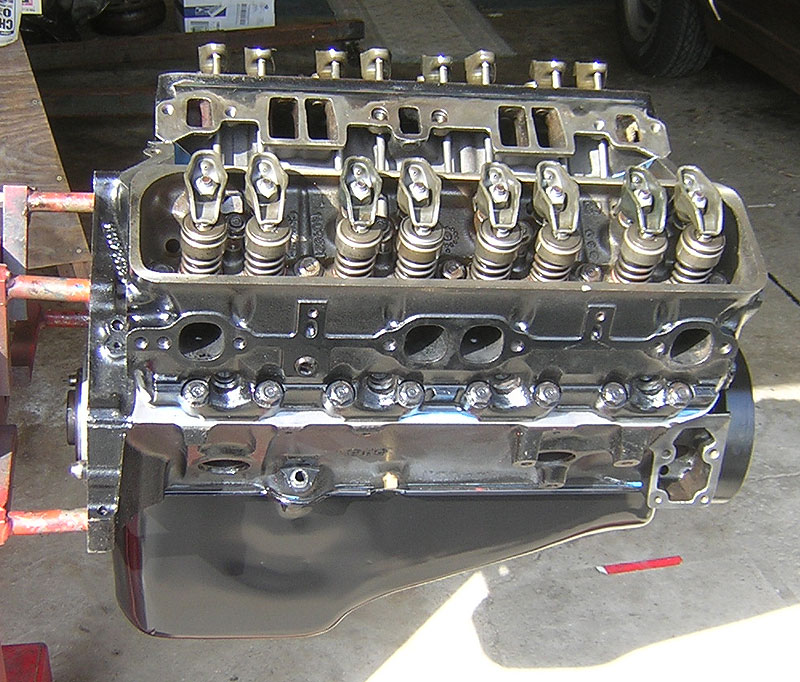
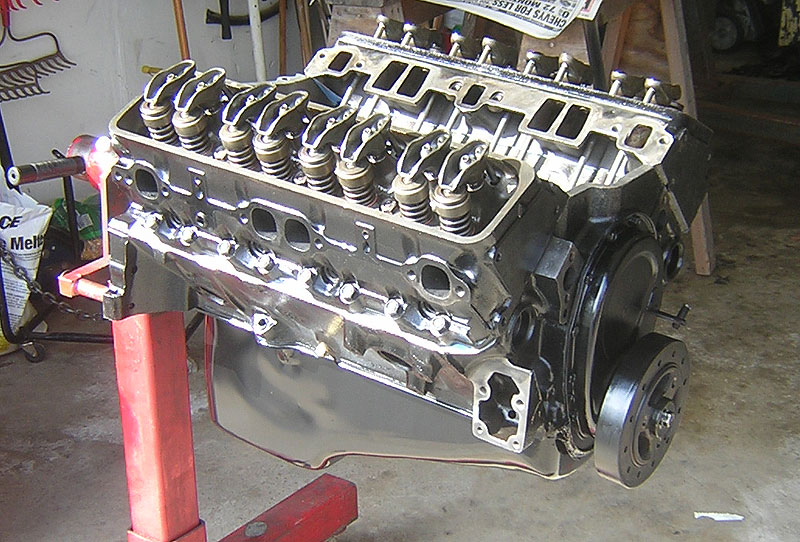
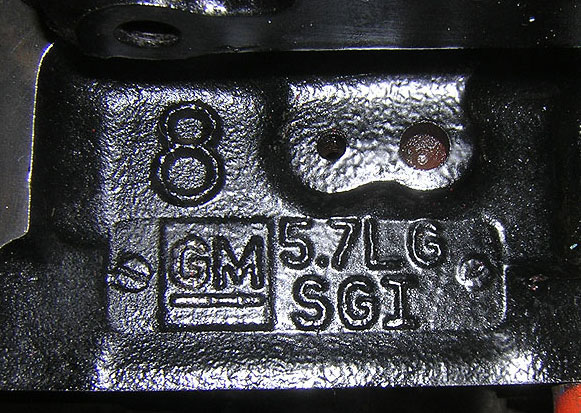
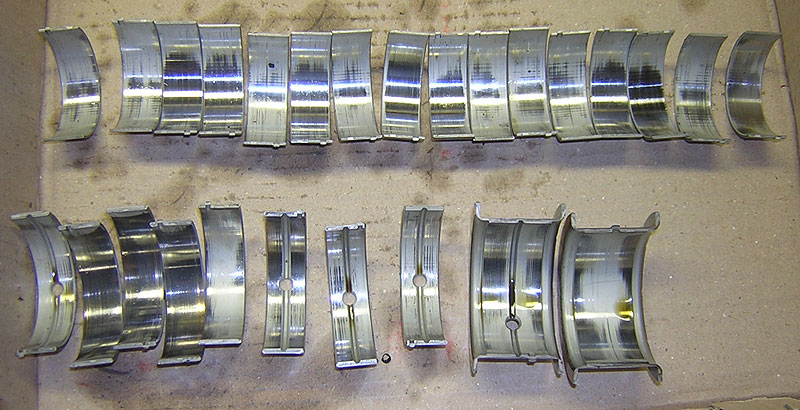
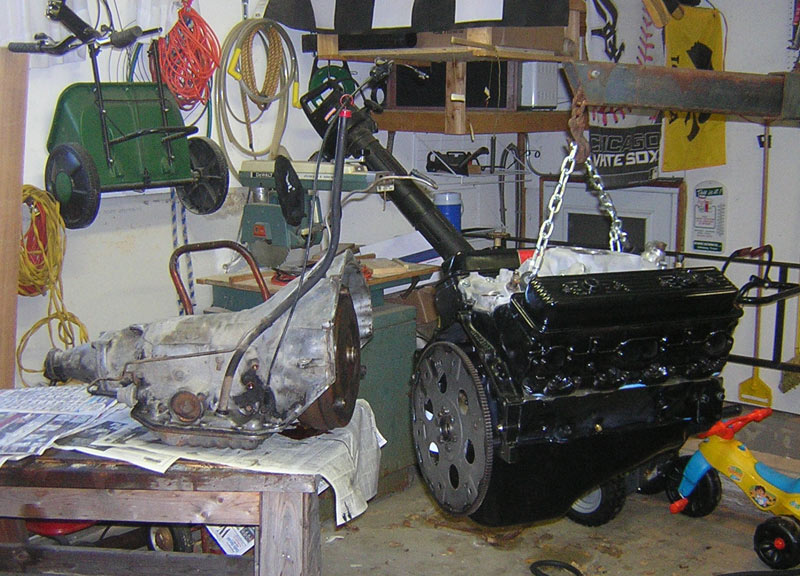
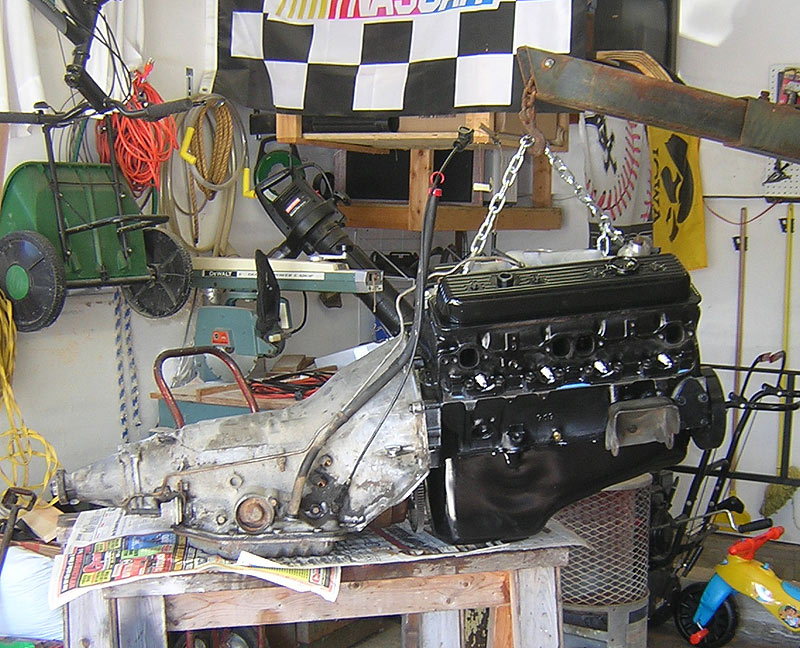
I brought the motor
and heads back from the machinist. Jim Adrian - Adrian Competition Engines,
West Chicago, IL
Jim worked this engine over like it was going in to his own car. I can't tell you how much I appreciate all his hard work. He is a master craftsman, and I am lucky enough that he was coaxed out of retirement to help me with this.
He loaned me the cradle, and engine stand to help get it back together.
3/13/07
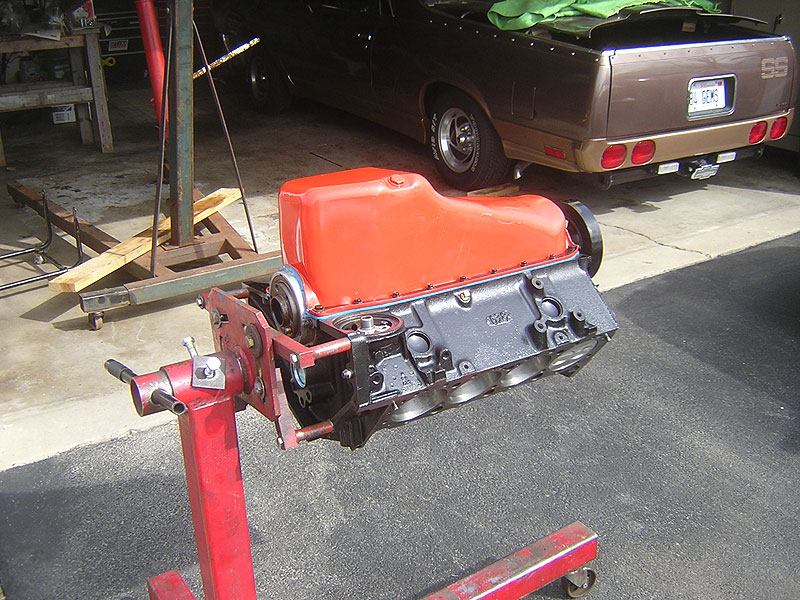
I prepped the oil pan for primer and high temp paint


3/20/07
These are the intake bolts. I am trying a suggestion from Carrie, using O rings and washers to keep the oil from weeping up the threads. Permatex Black Form a gasket is on there too, as always.
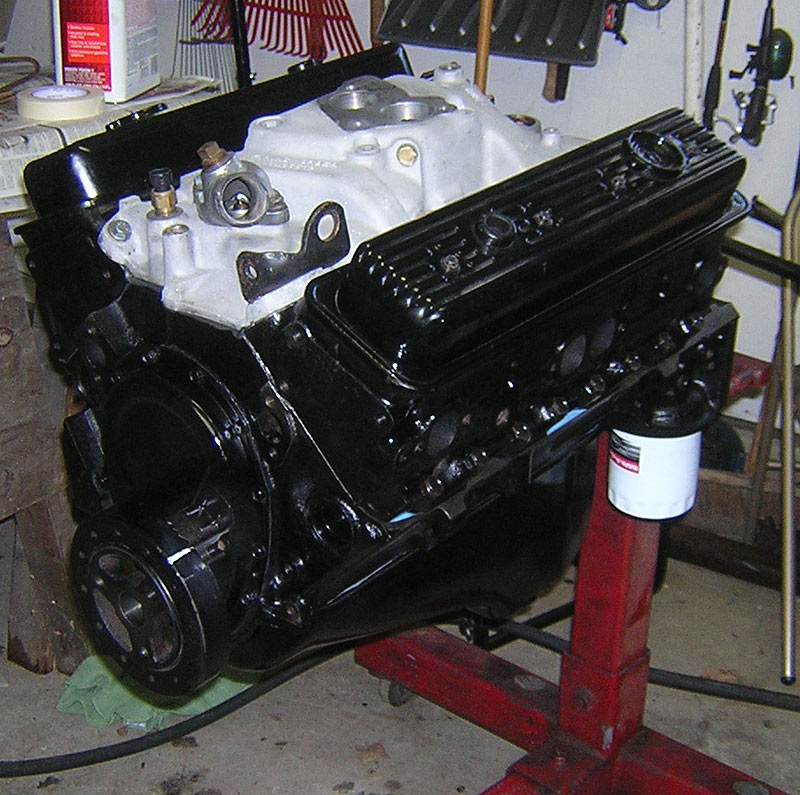
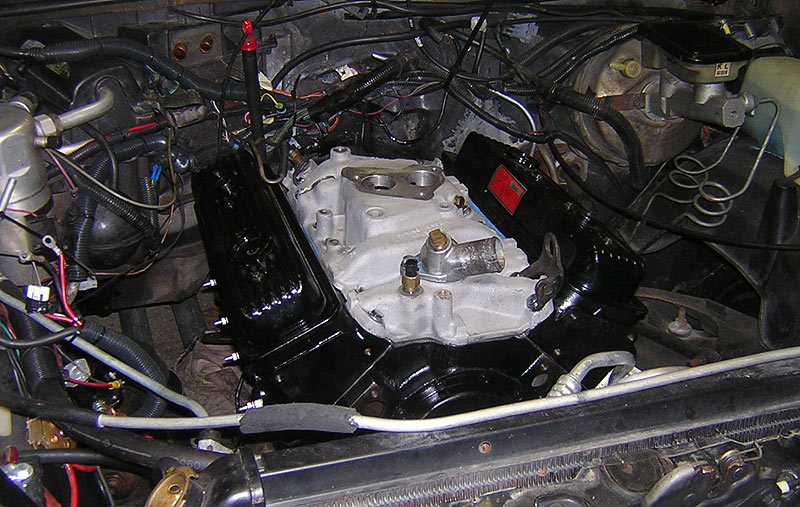
The Engine is back in the car!!!!!
Tom called me after reading last night's email, and offered to come by. He came over at about 6:30, and (as always) was a great help. Thanks Tom!
Got it running about 2 PM today. The first try proved that you can't let a battery sit from October to nearly April, and expect it to start a car.
After charging, it ran great. I ran it for about 10 minutes, then changed the oil and went for a drive. No leaks. Runs better than EVER.
I have been playing with the timing to get rid of some Ping (detonation). After backing it way off, then bringing it back up till I hear the detonation, then backing it off till it goes away, I have a comfortable timing adjust met. It runs fantastic. Can't wait till 500 miles, another oil change, and hit the gas real hard.
Fine tuning is in the works. New runs using WinALDL are here. Jared burned me a chip that raises the TCC lockup point 10 mph. Works great.
Now just need to work on the timing and fuel curves.
As of march 2007, Elkenstien will no longer be required to take an emissions test. (great news)
5/1/07
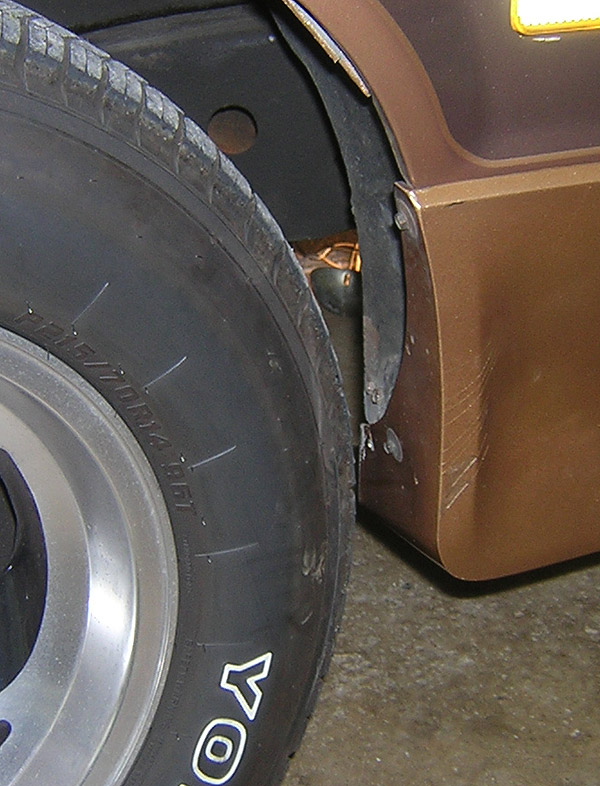
I have been getting some tire on fender rubbing while backing, with the wheels turned to the left. I think somone probably bumped me an a parking lot, and it's pushed in a little bit. That, and a combination of new tires with lots of rubber thickness. The clearance without suspension travel is less than a sixteenth of an inch.


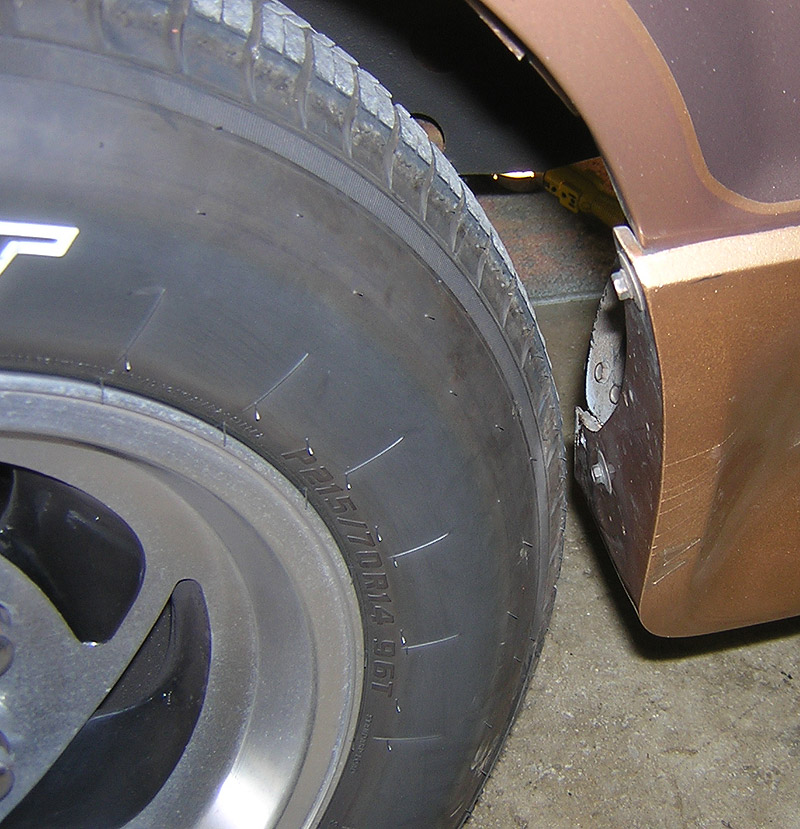
Sent to my Step Dad at Bruns Machine in Cedar Falls, IA.
This was the result. Turned from a piece of steel tubing.
It fits PERFECT.
Thank You to Richard Schmidt!
6/22/07
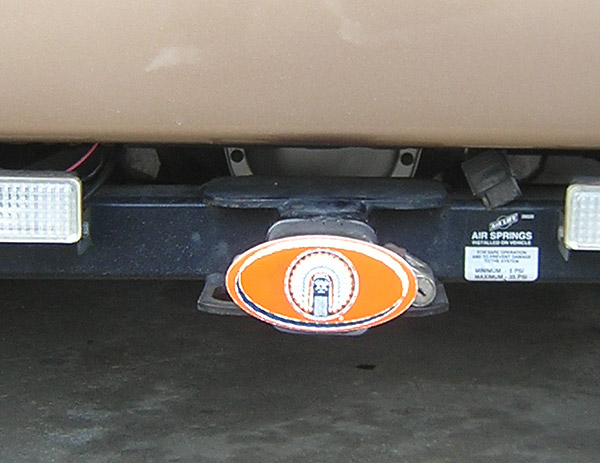
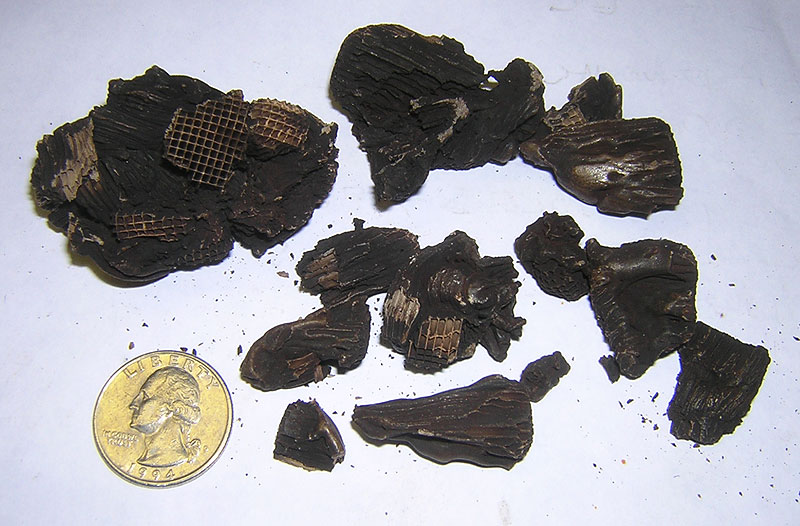
I took the El Camino to the High School to use the lift. I took the exhaust
off from the test pipes back, and Tom and I shook the chunks of exploded
catalytic converter out. They have been rattling, and I suspect cutting
down the flow of the exhaust for a year or so. I could not have gotten
them out without his help, and the height of the lift. One piece would
clog a high percentage of a 2" pipe. See the quarter?
Thank You Tom!

I met Rick Houston in Naperville, IL. We couldn't manage enough time to enjoy dinner together, but it was good to meet another list member in person.


Rick accepted my rain check for a meal on another trip to town.
Thanks to Cindy for Taking pictures!


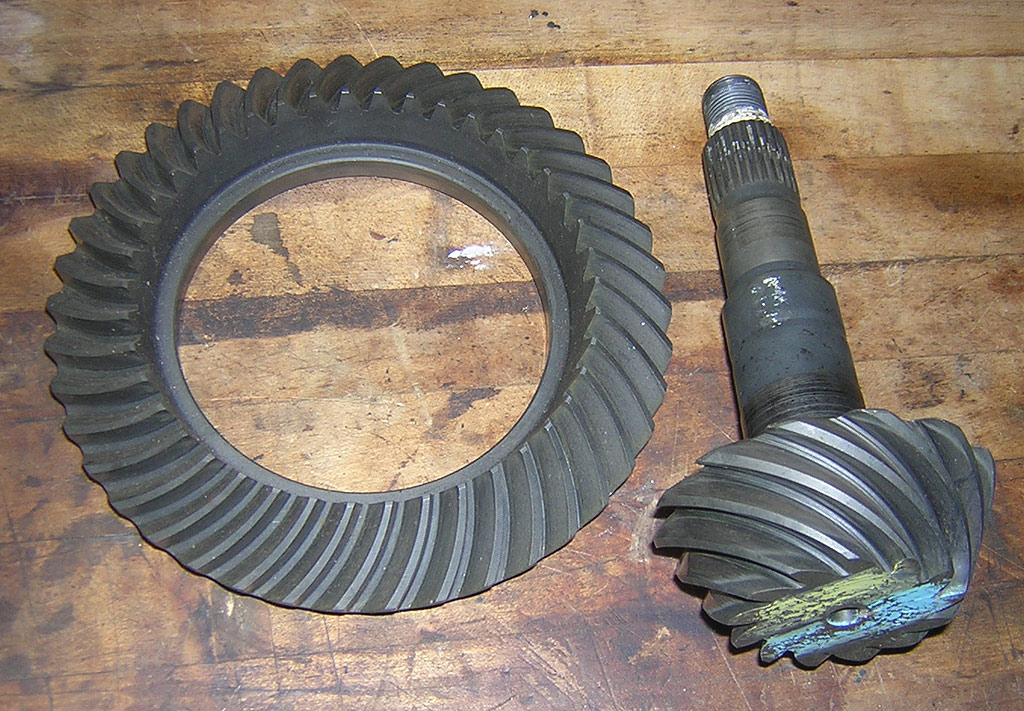
The Rear was installed, and worked a little too great. Plenty of tire melting capability, but it will not be comfortable on the highway. I decided to change to a 3.23 gear set to make it a little better on the highway, at least until I go with an overdrive transmission some day.
What
you see here is a set of 3.23 gears that were $25 on eBay, with 16K
miles on them. I'm waiting for the kit to get them in the car. The
driven gear
will have to change to 20 to get the speedometer right.
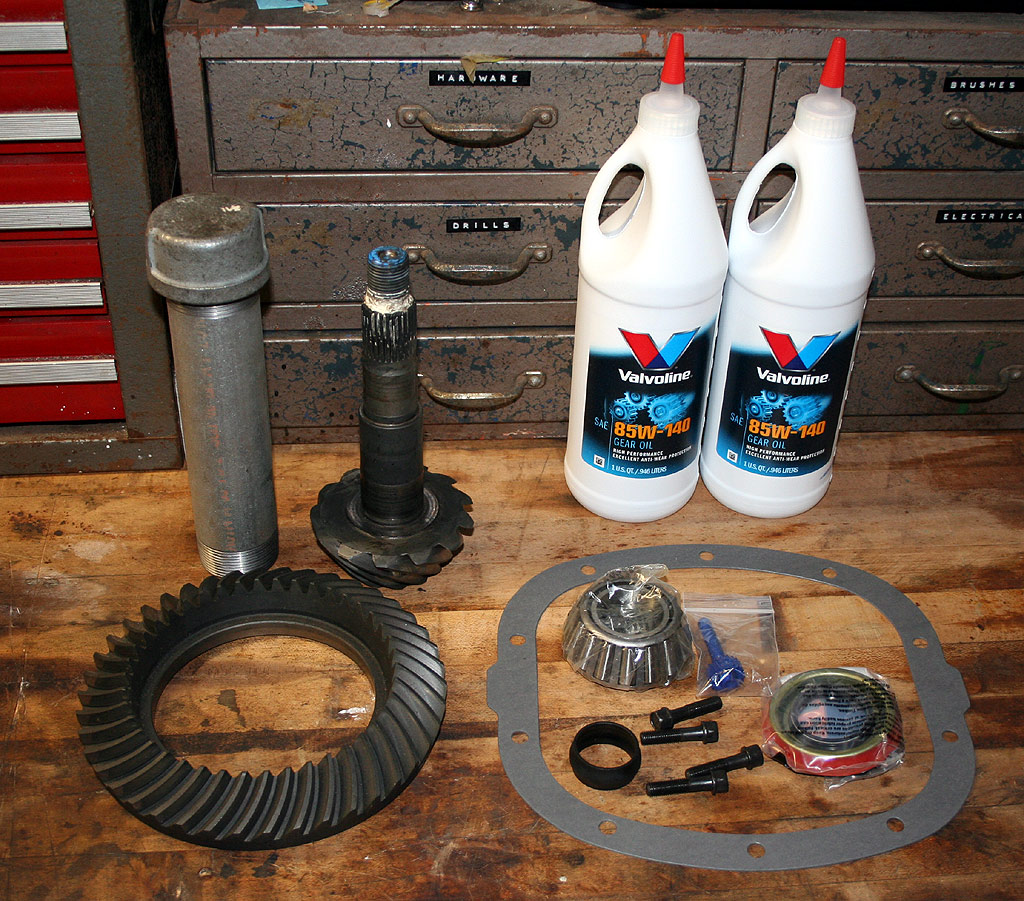
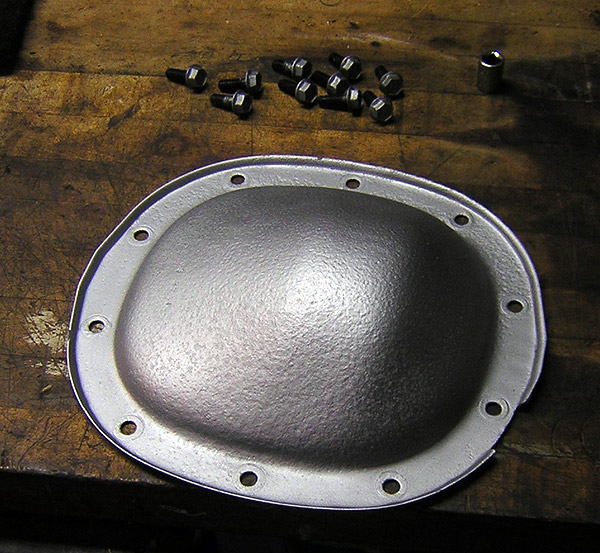
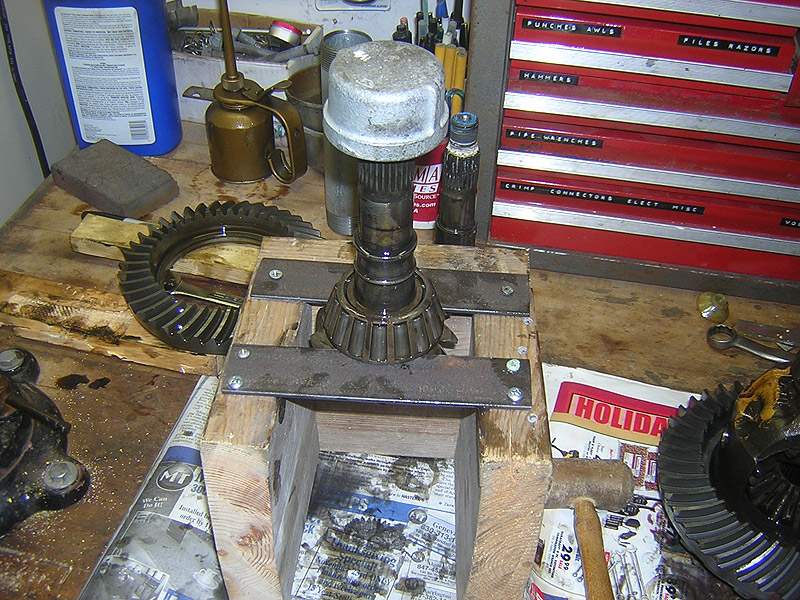
Now I have everything it takes to do the swap. You see the gears, seal, cover gasket, inner bearing, crush sleeve (I have 2, just in case), 20 tooth gear for the speedometer to convert from the 3.73, gear oil, and 4 matching bolts for the U-joint straps. I have been running odd bolts on this forever.
The only thing I have to do, is to get the shim from the pinion on the car, and put it between the new bearing and the pinion gear. I will need to find a way to pull the old bearing. I don't have a puller that will work. The pipe you see in the picture, is what I will use to press the new bearing on the pinion shaft.
This is new territory for me, but I'll try anything once. (almost)
I have a good feeling about the 3.23 ratio for what I want the car to be like.
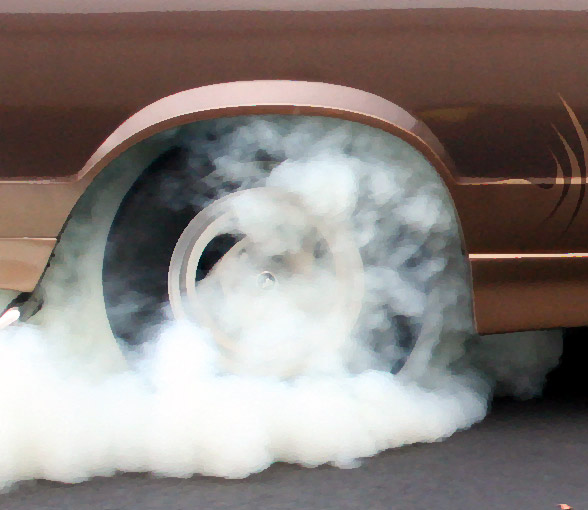
I convinced my son Nate to go with me to an undisclosed location to get some burnout pictures. This was the last trip out with the 3.73 gears.
This is a smaller version of the Burnout animation at the top of the page, with more frames.
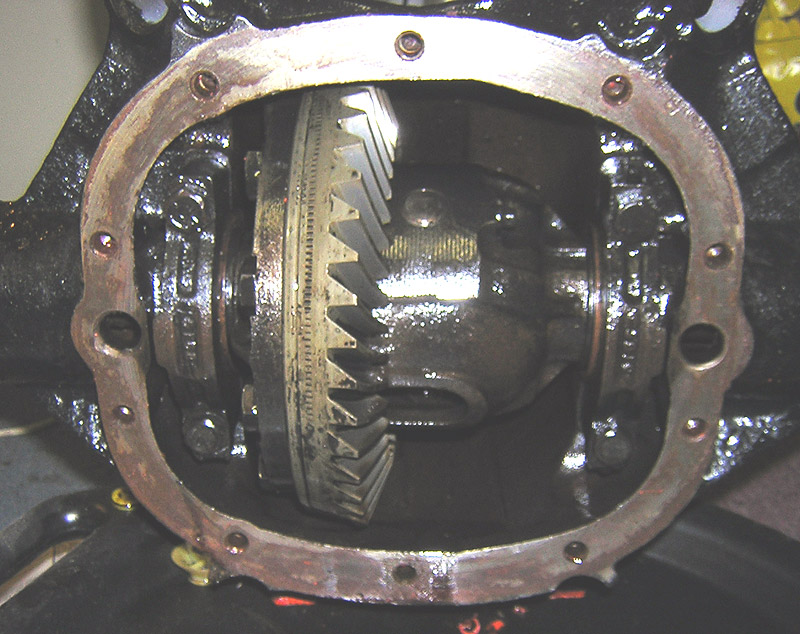
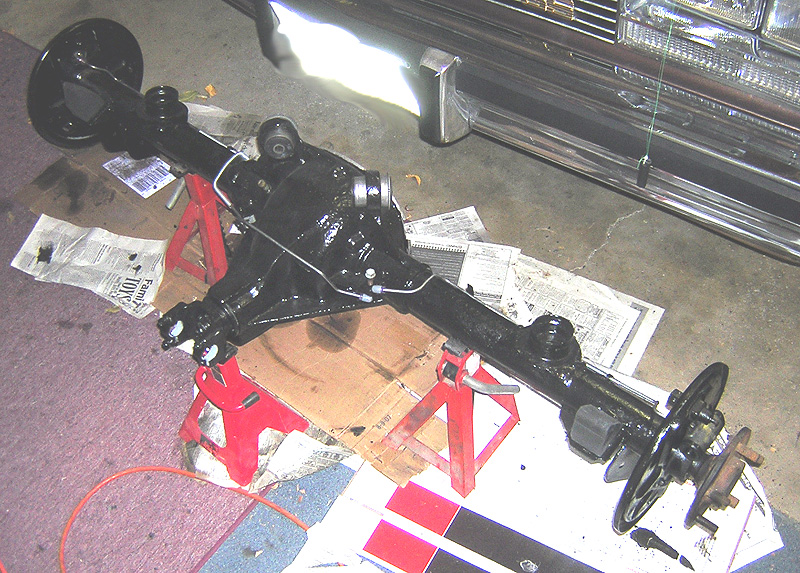
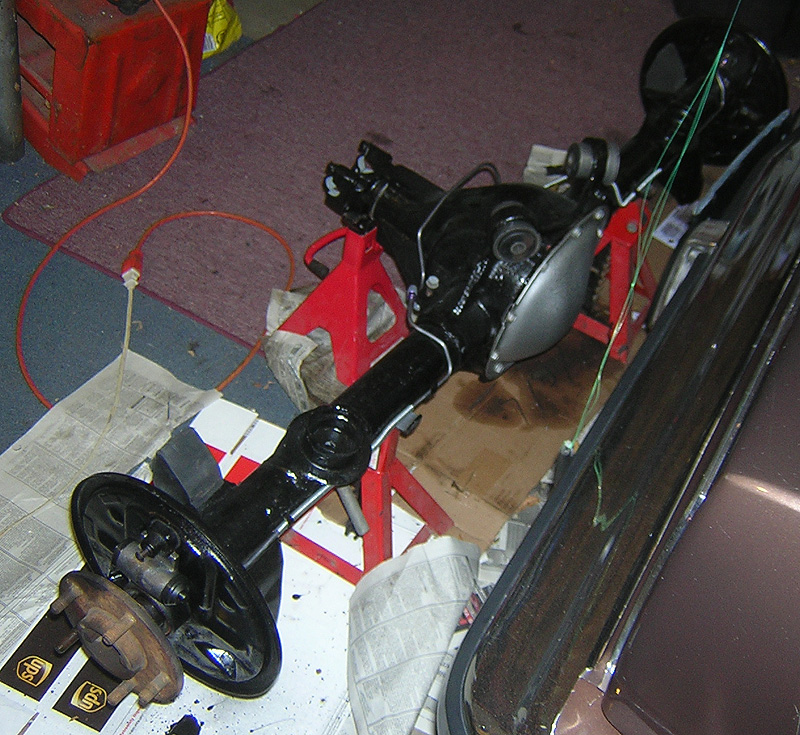
I took out the gears to change to the 3.23 gear set. This was a first for me.

This is the new ring gear bolted on. It is not in the manual (anywhere that I could find in Haynes, Chilton, or the GM SM) but the threads are reverse on the ring gear. Doesn't everybody know that? (but me)
All went back together just fine, with no leaks. It was really cold out, and a smart man would have put the gear lube in the house to warm up. That took a while! Nate proved once again that it will still melt the tires. I have a lot better driveability now, and great power in all the ranges, at any speed. It may not be the greatest on the highway for gas, but the RPM's are not over the top with the 350C like the 3.73 gears were.I love it.