This
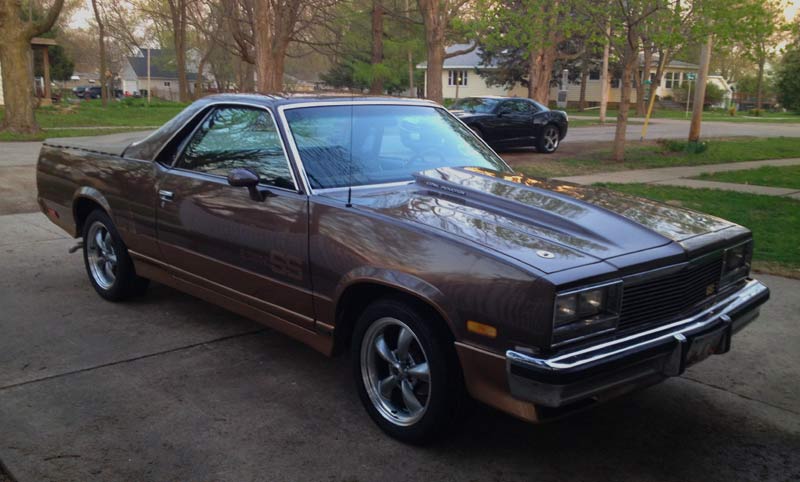
page shows the latest upgrades to the El Camino.
Jan
2014 to Present.
July
2006
the car got a name: 'Elkenstein'
There are so many parts on it now, from all sorts of different vehicles.
Even though it dies once in a while, it keeps coming back to life.
Click on the pictures
to see larger views.
Use your browser's 'back' button to return to
the page. |
|
See this page for a year in the life of Elkenstein.
January 2006 to February 2007
|
Blown head gaskets,
blown engine, new engine, electrical melt downs, computer swaps, catastrophic
failure of the new (rebuilt) engine at 1000
miles. |
| March 2007 to November 2008 |
The rebuilt engine,
rebuilt again, small tweaks, new rear end, gear change after that. |
| January 2009-December 2010 |
Surgery slowed down progress for a couple years. Back at it now and making
progress. |
| Projects
in
2011 |
New lights
for the turn signals, headlight upgrade, Serpentine system swap, New
body Mount Bushings and Fuel pump. |
| Projects
2012 - 2013 |
New Overdrive Transmission.
Human sub frame connectors. |
| Projects
beginning 2014 (This Page) |
New Wheels and Tires,
Big Brakes, Ignition Switch. |
| Projects
for 2014 - 2015 |
Rehab from the last
(4th) spinal surgery is done and I am feeling better
all the time. Pain free for the most part, for the first time in
2 years....... Time for some WRENHCIN' |
 |
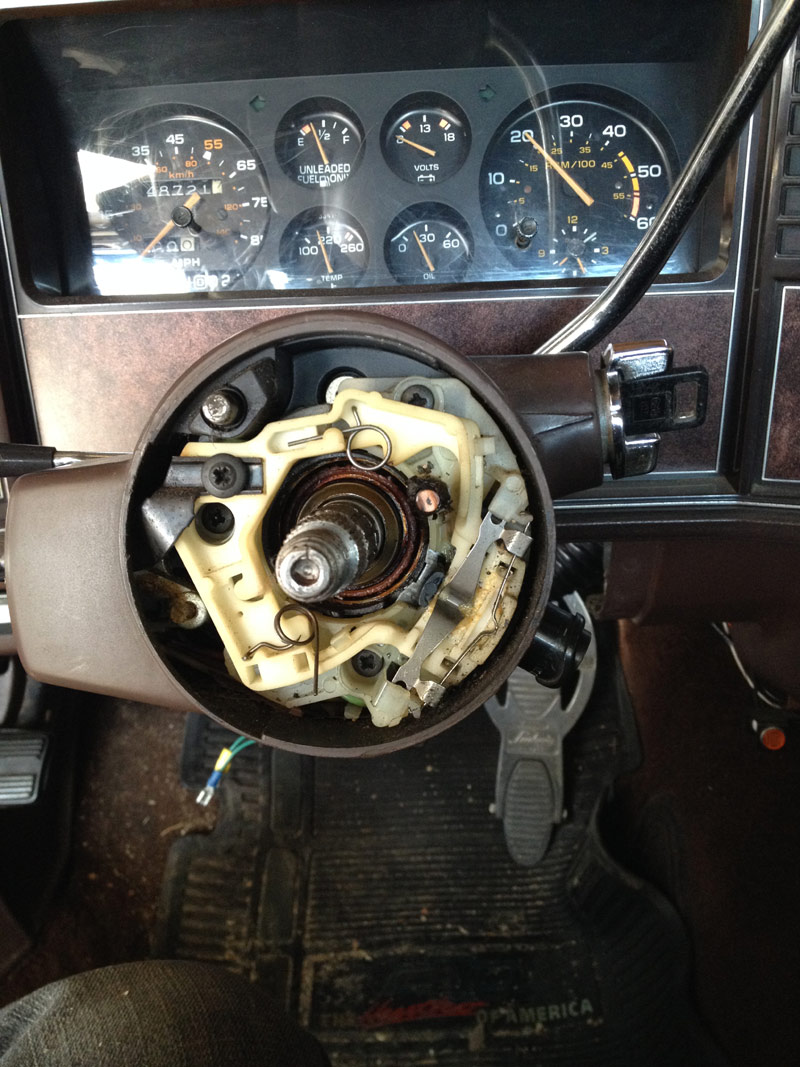
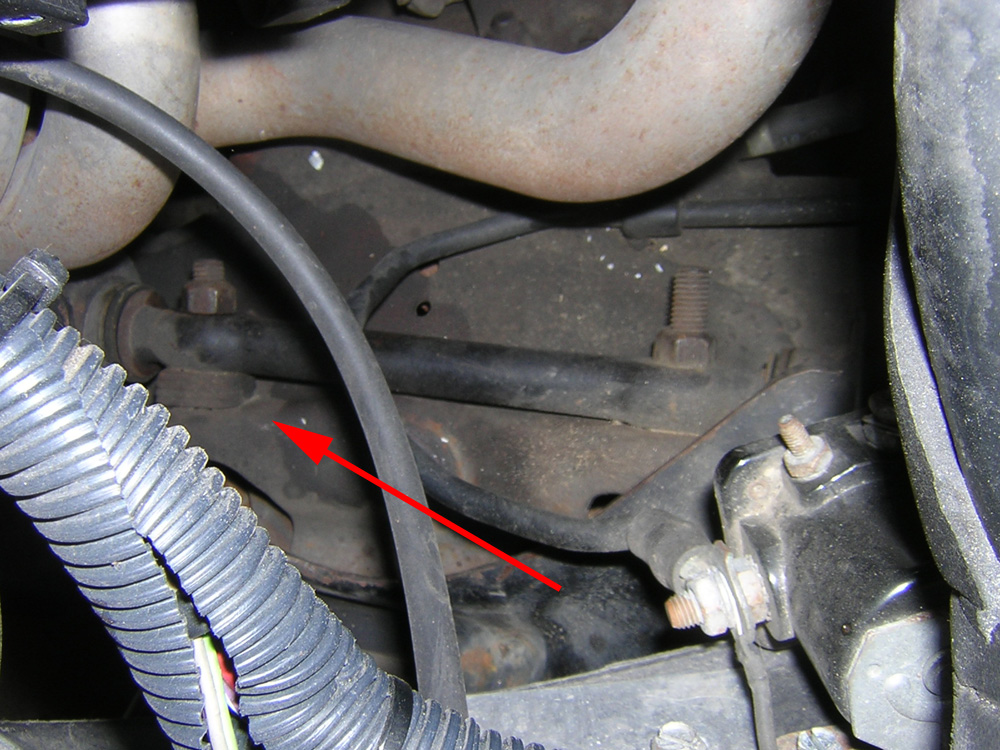
What I believe is an
ignition switch that died, and has disabled Elkenstein for the time being.
Parts are ordered, and I will put the rehab on here. 3/2014
This picture shows the broken return spring on the bottom side.
|


|
I attacked the steering column, and replaced the lock tumbler, and ignition
switch, along with a broken return spring for the turn signals. My local
dealer had both springs in stock, and they were about $0.69 each.
The second
picture shows the new lock cylinder with black vs. chrome finish.
The intermittent dying problem turned out to be a loose allen screw on
the fuse
block that replaced the fuseable links. I had a melt down in 2006,
and used a fuse block set up that is a lot easier to deal with.
I needed the resto of the switch
and key cylinder anyway after 250K miles. The key would fly out of the
column on a hard left turn. |
 |
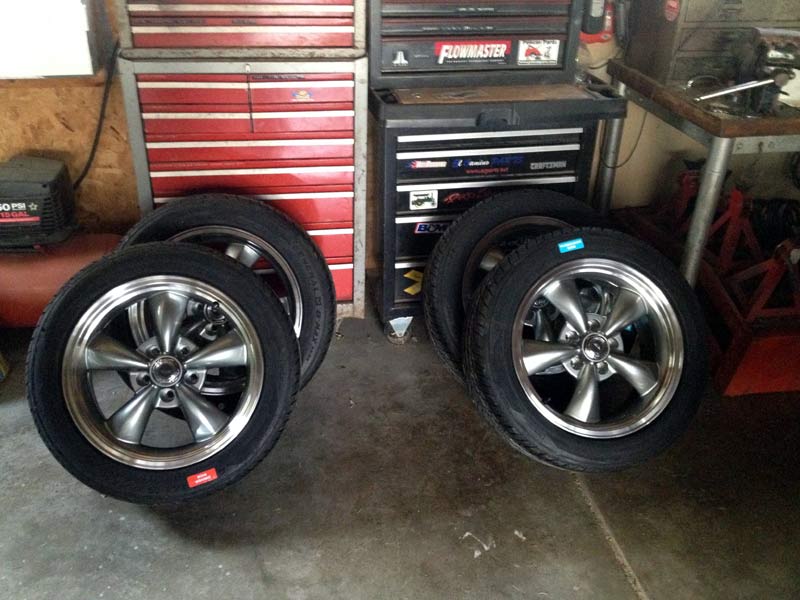
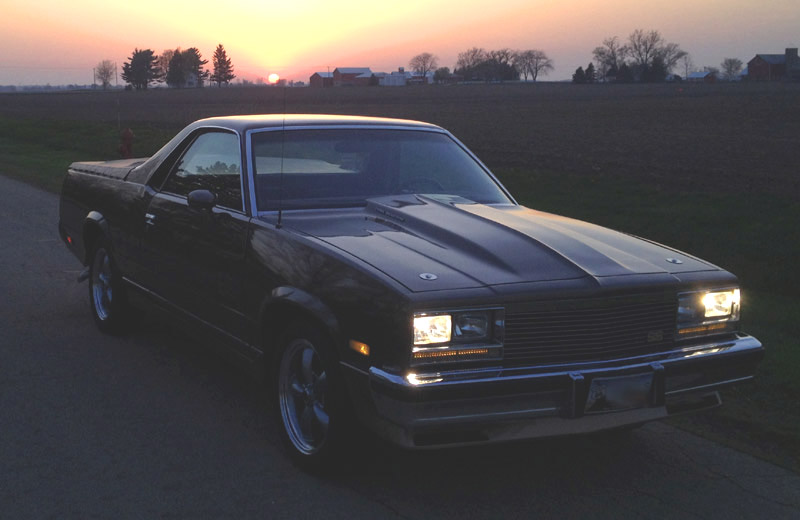
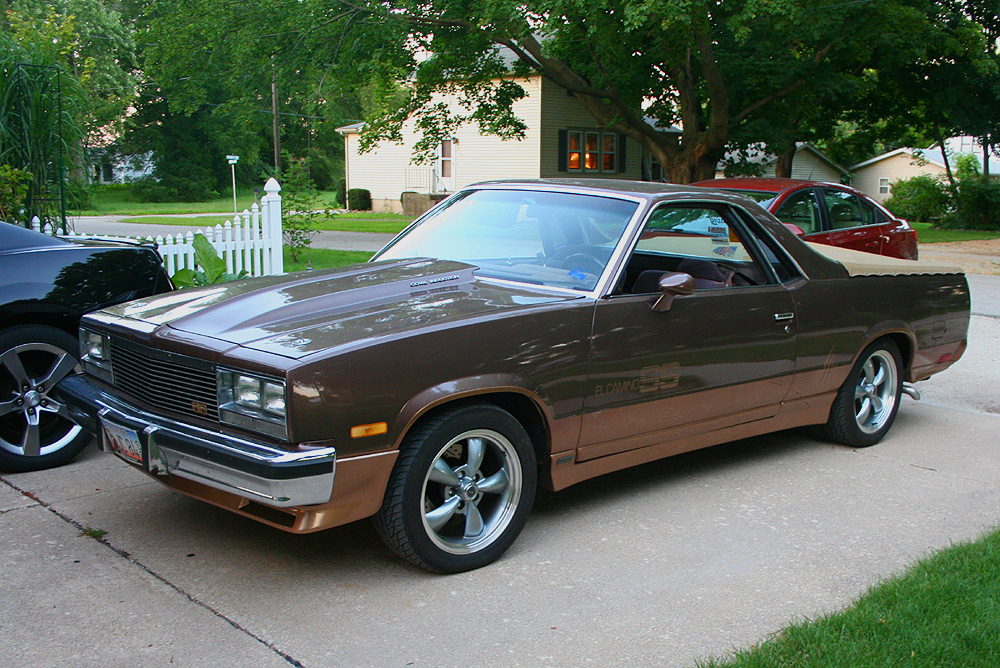
New Wheels 4/2014 17" Torque
Thrust M with General Tire Ultra High performance all season tires. I
will not rule out having to drive in some snow with
a load here in Chi-Beria. |
 |
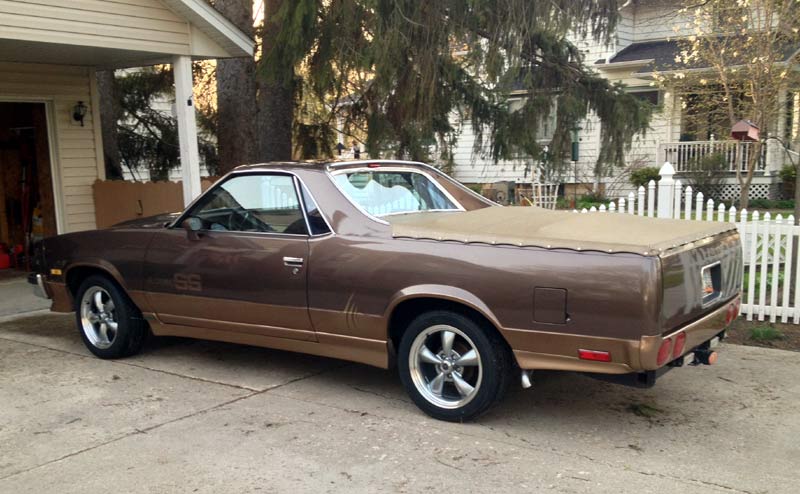
The wheels look
great on the car. Now I can clean up the big brake conversion parts and
look at getting them installed. The old 14" rims would not work with
the brake conversion. |
 |
|
 |
|
 |
|
 |
This one shows the
H1 bulbs lit up, and the LED turn signal conversion. |
 |
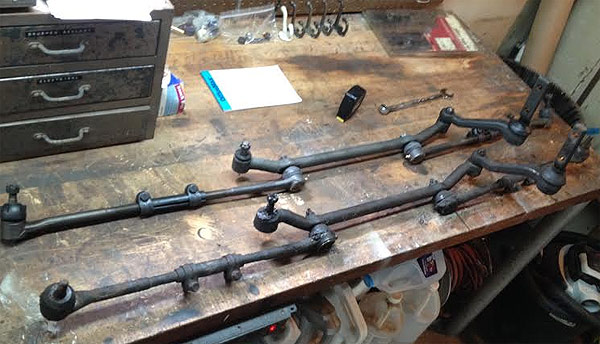
Father's Day
2014 automotive therapy.
I took off the Idler arm, center link, and tie
rods off the car in one assembly. I put it on the bench and measured
carefully, then re-installed the new parts. The idler arm joint was bad,
as I suspected, as well as the other center link joint to the pitman
arm.
If I recall, I had to replace a driver's side tie rod end a few years back.
This whole assembly was also replaced shortly after purchasing the Elky
at
about 170K miles. There are over 250K miles on it now. Par for an old
Chevy front end was 70-80K miles, and things started to wear out. So
it was time. |
 |
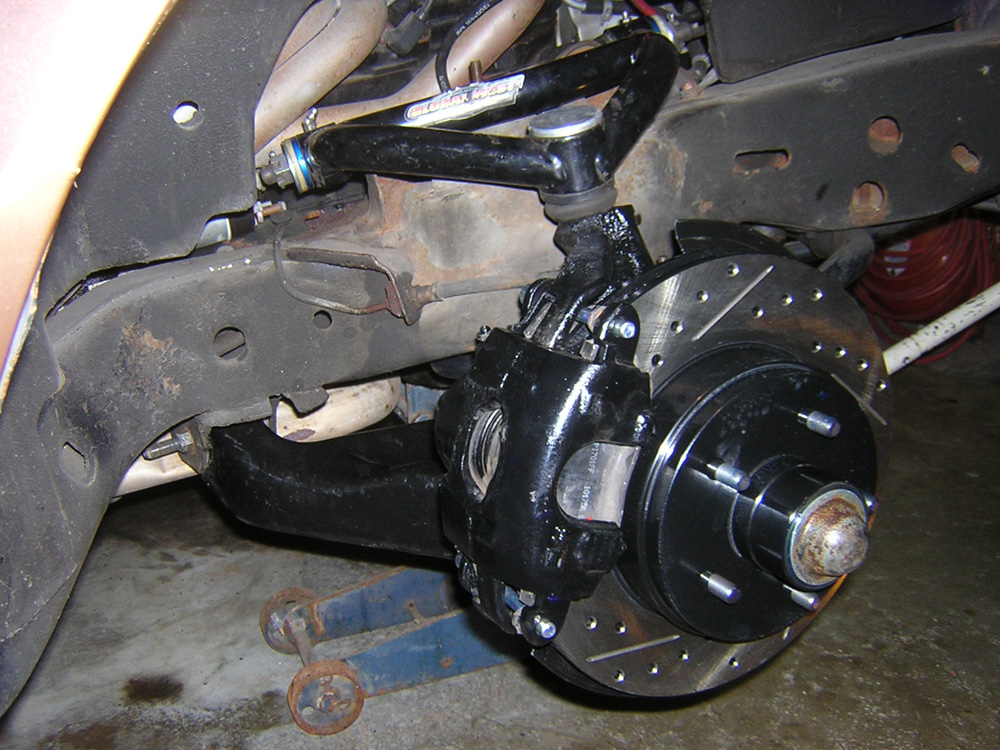
This is a picture of the new brake parts I need to clean up and get ready
to install.
Here we have time tested parts from Mike Huber's "MINO" that ran this
race very well!
This
is another link for details on Mike's performance:

Here we have Global West tubular upper A arms, boxed lower stock arms,
all with Del-alum bushings, Caprice Police car Spindles, IROC Camaro
1LE calipers, and drilled and slotted rotors. Thanks for the great deal
Mike!!
|
 |
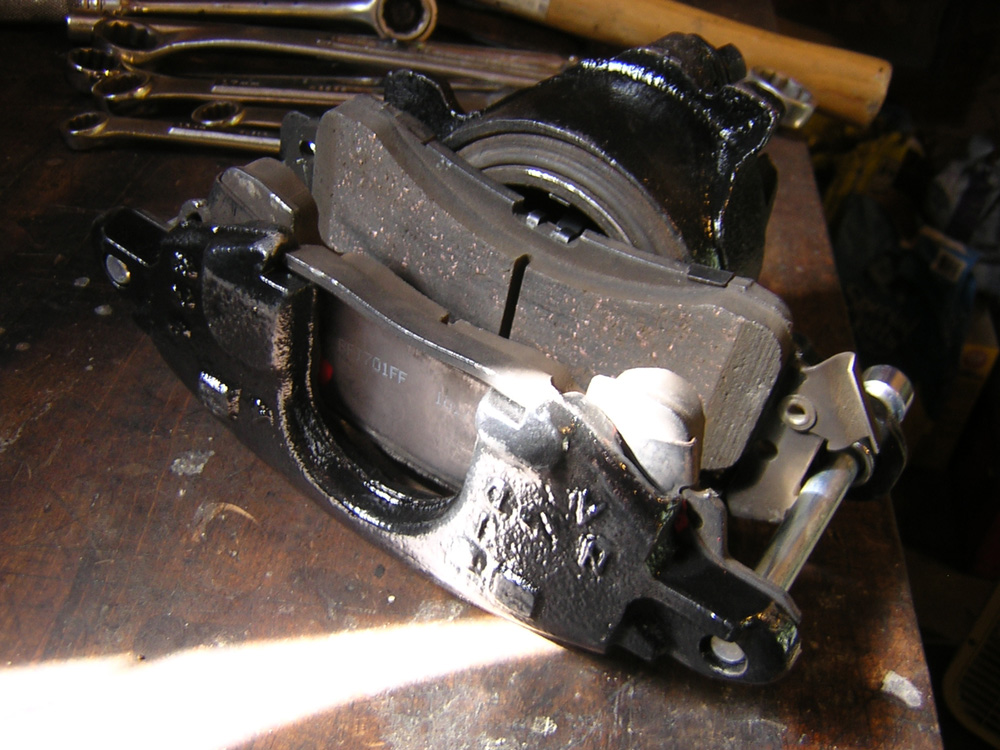
10/11/15
Day 1 of the project. Tear down and clean up. This is the before picture
of the stock brakes. |
 |
I took pictures of
the shims on both sides of the upper control arms, and replaced them
with the new parts to have a starting point. Driver's side. |
 |
Passenger side shims. |
 |
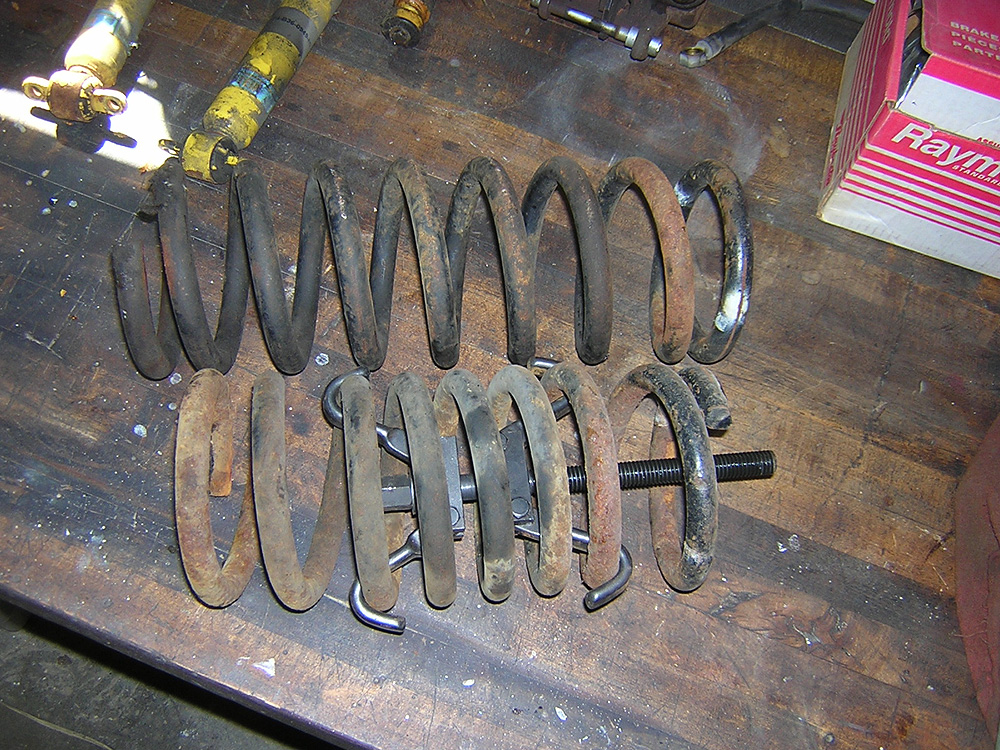
I tried with no luck
to get the Summit Racing Spring compressor to grab the springs, but found
out it was hitting the upper perch. Cutting 3" off the threads did the
trick. |
 |
This is the second
spring out, still compressed. |
 |
This is the compressed
spring next to the first one at rest. 3 or 4" of compression was needed
to get them out. I put a safety chain around them during the process. |
 |
Passenger side is stripped
down. |
 |
Driver's side is stripped. |
 |
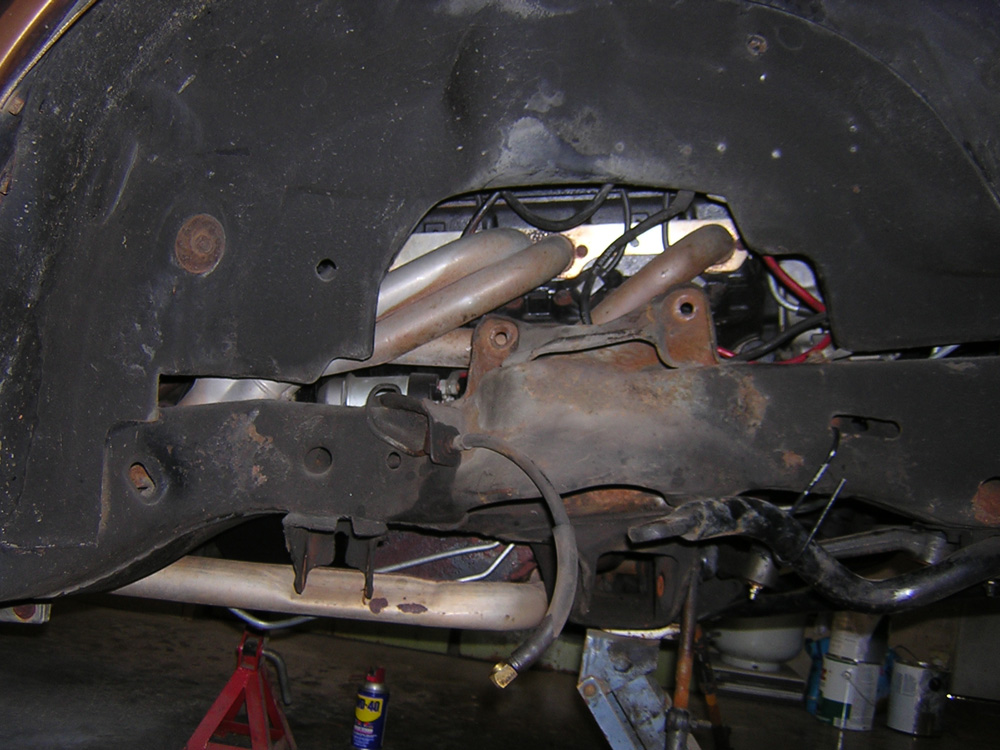
Air suspension. Note
the F-41 frame braces. |
 |
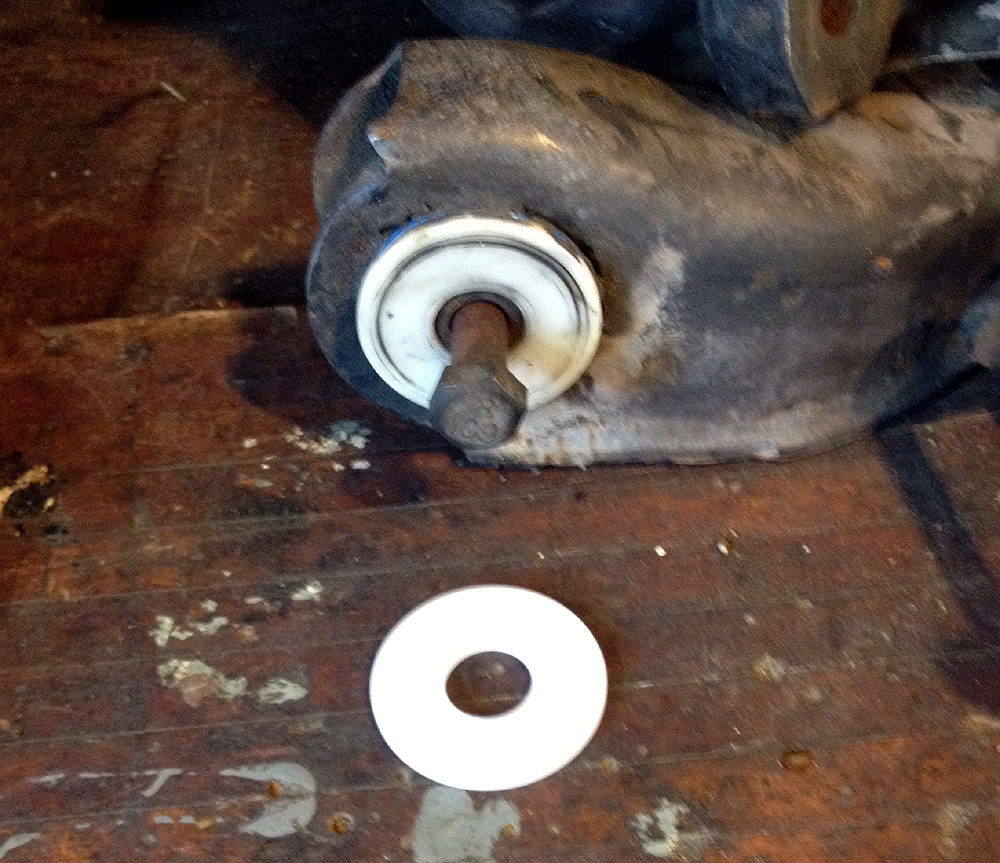
Somehow one of the
Delrin washers didn't make it with the shipment. Probably stuck to the
frame of the old Mino. Doug at Global
West Suspension responded very
promptly to my needs and shipped me the missing washer for a real fair
price, and in time for me to get the project done when I needed to.
Thanks
Doug!
www.globalwest.net |
 |
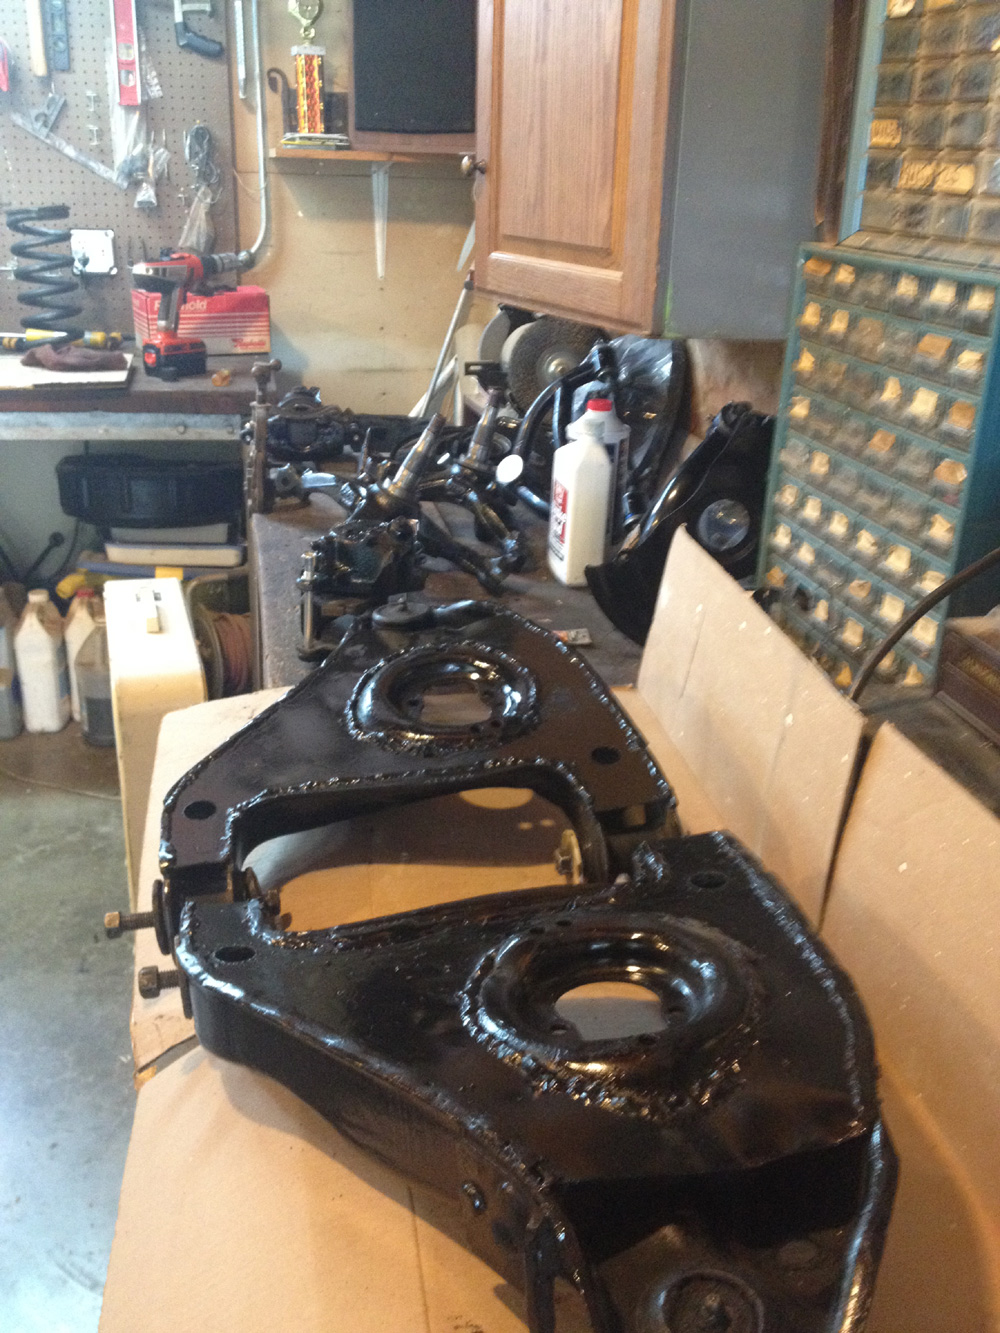
End of day 1
included scrubbing and painting the spindles, dust shields, and lower
arms. |
 |
This is a picture
of where the stock arms are boxed in. I drilled holes near the frame
ends to allow for greasing, and it was a good thing, because I forgot
to grease them until they were on the car. These holes made it a lot
easier. I used a step bit. |
 |
This is before
I cleaned up the springs and upper A arms. |
 |
New in the box
rotors from Rock Auto. |
 |
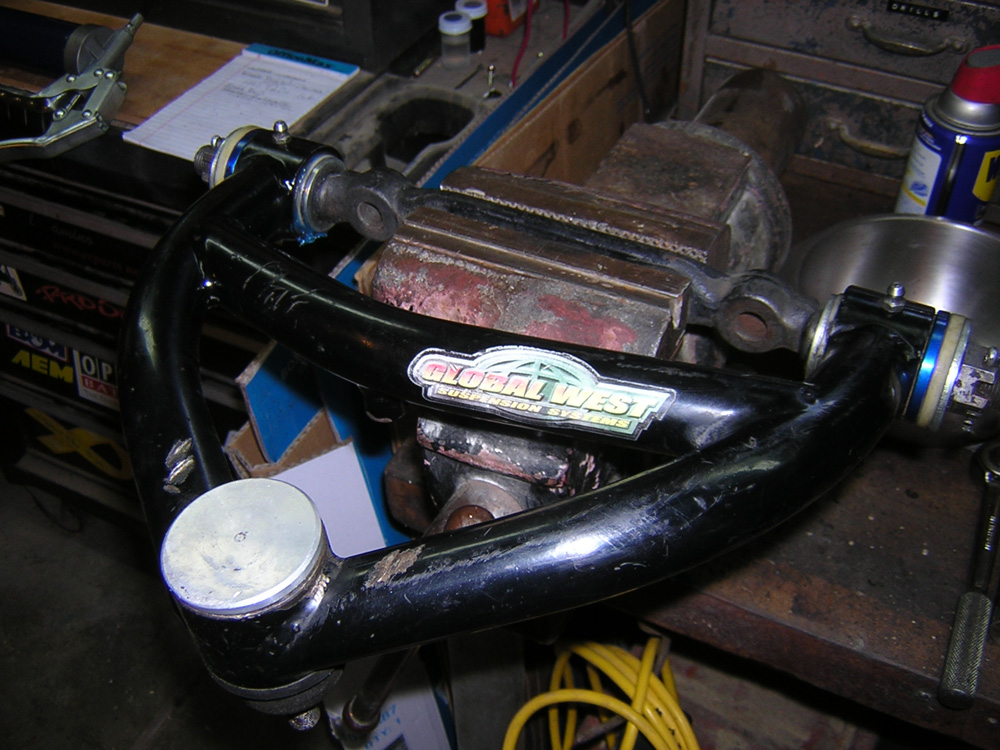
I greased the
upper arms in the vise prior ton installing them. The cap comes off on
this model to grease the upper ball joints. |
 |
These are the
1LE calipers painted, and loaded, with new hardware. The pads were good
from Mike so I am going to run with them for now. They look like copper
flecks in the pads. I have used this type before. |
 |
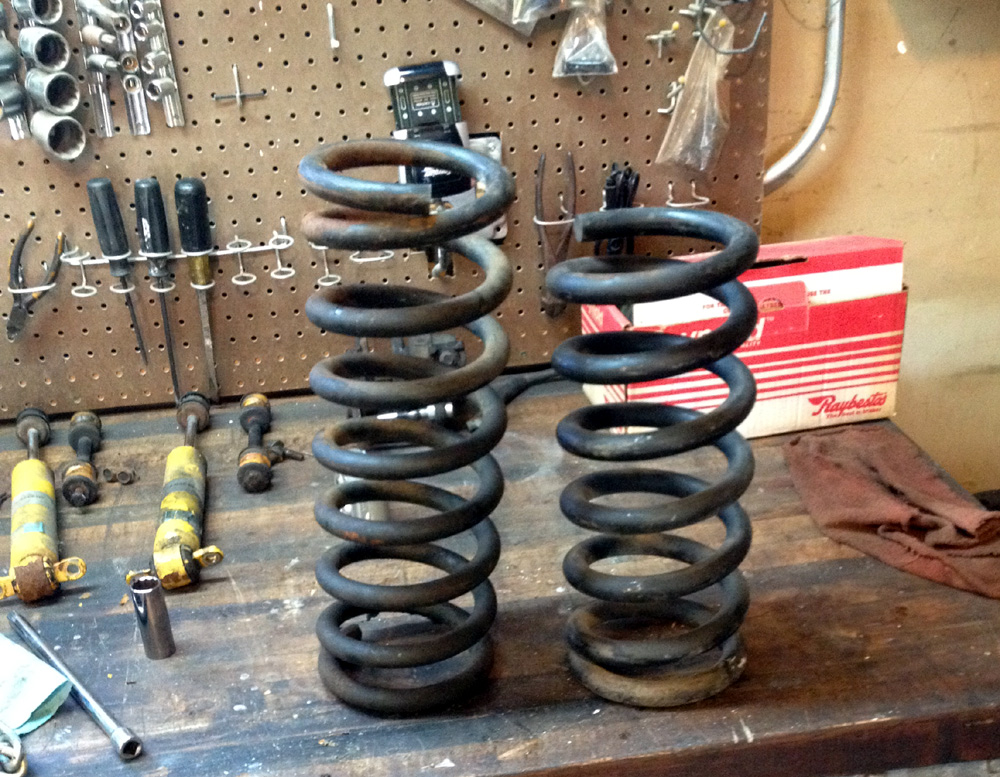
This shows the
old springs next to the new ones. The new are Global West 1" lowering
springs. I had already installed the rear springs when the 16 year old
rear air bags blew, hauling landscape rocks. |
 |
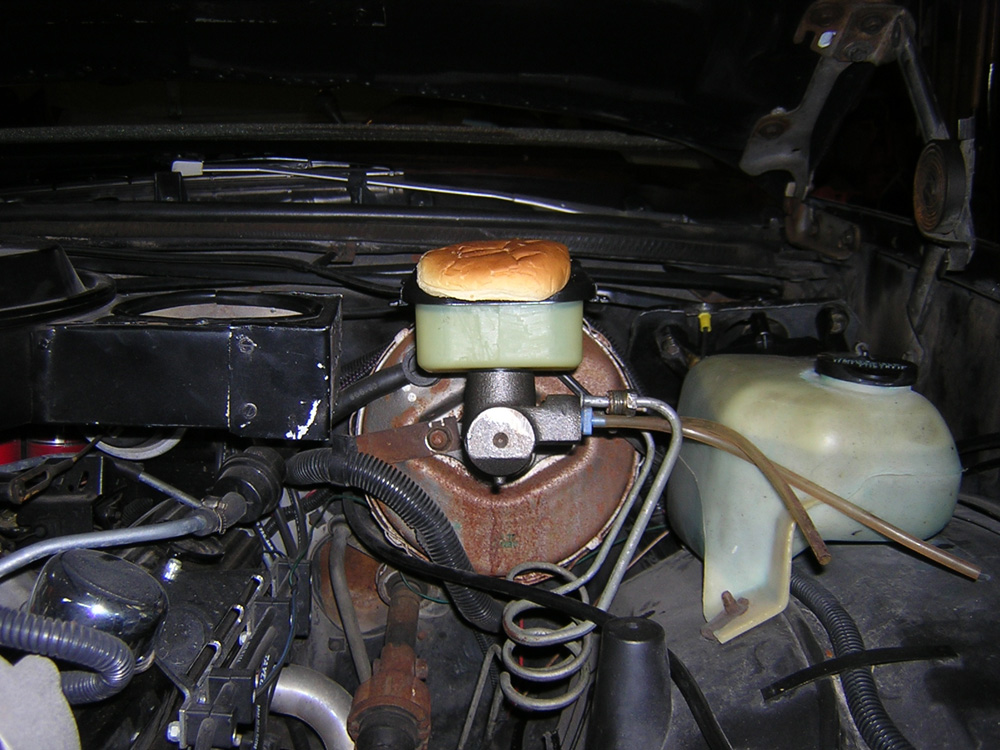
I have to thank
my wife Cindy for this idea. I had told her I was worried that the new
Caprice master cylinder would not clear the fiberglass hood. It looked
really close when I was test fitting it. The lines all worked, and the
fit to the booster was right. I said I needed to get some modeling clay
to check the clearance. She said "Just use a hamburger bun, we have plenty
of extra ones". Here you see a bun, squishy side down split to cover
the top of the master cylinder. |
 |
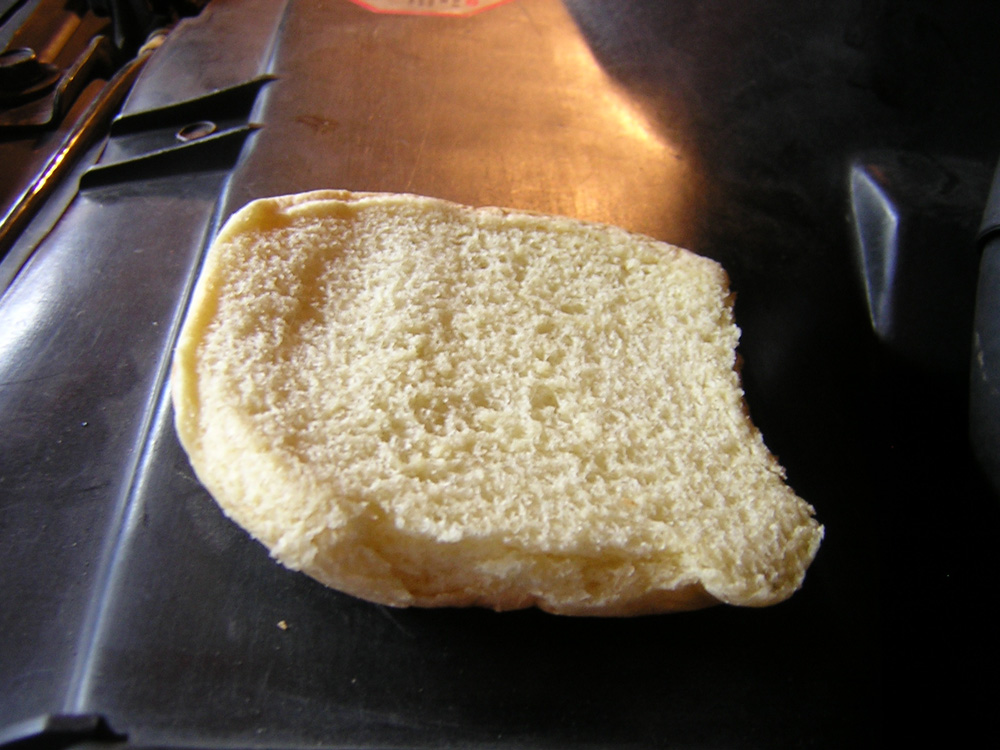
We have contact!
but it looks like about a half inch of clearance. I think the wheat bun
would not have compressed quite as much. LOL |
 |
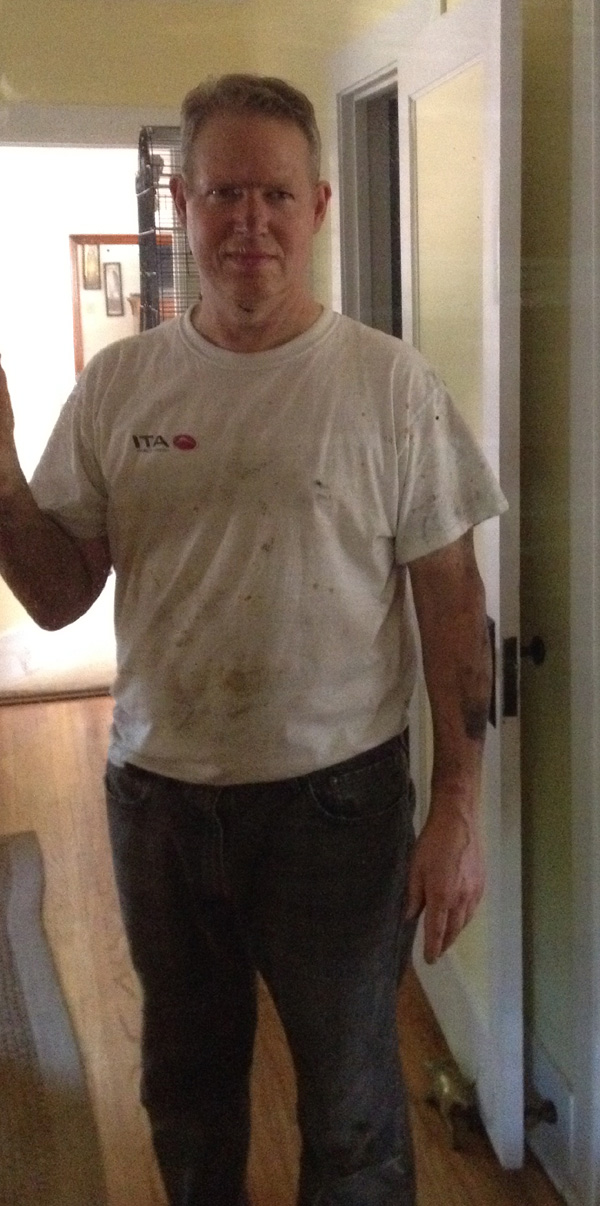
This was before
the first shower of day 1 after getting all the old parts out. It's
a dirty job, but I am saving a ton of money, and it's the rewards I
am
after. |
 |
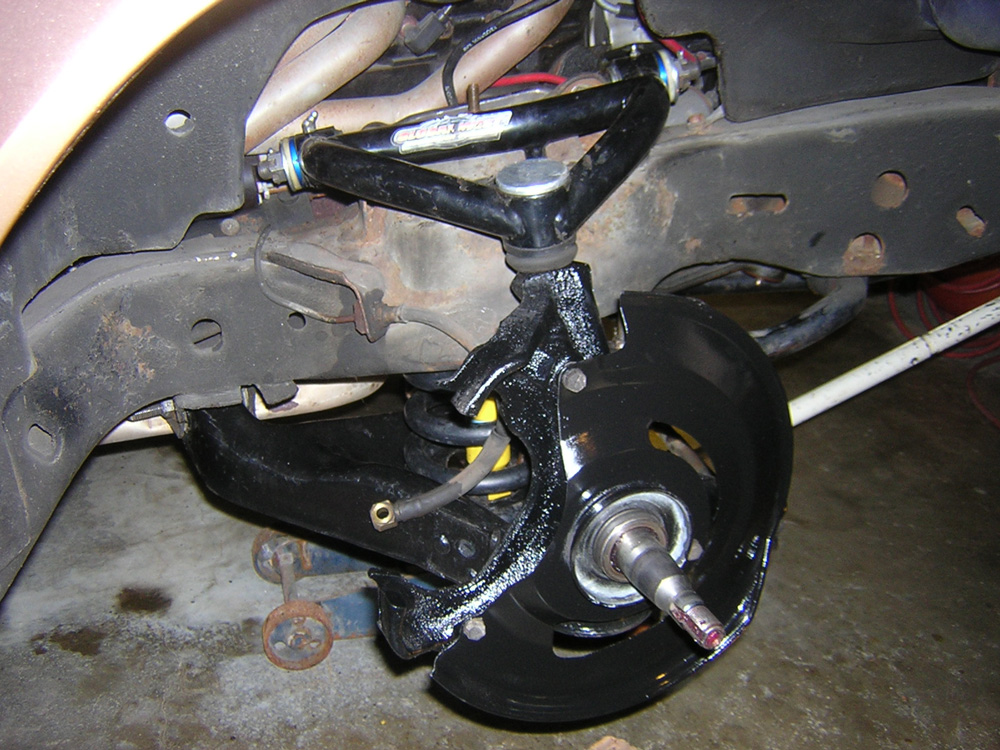
Day 2
Here are the uppers,
lowers, and dust shield installed. |
 |
The calipers
are on, but not the brake lines yet. |
 |
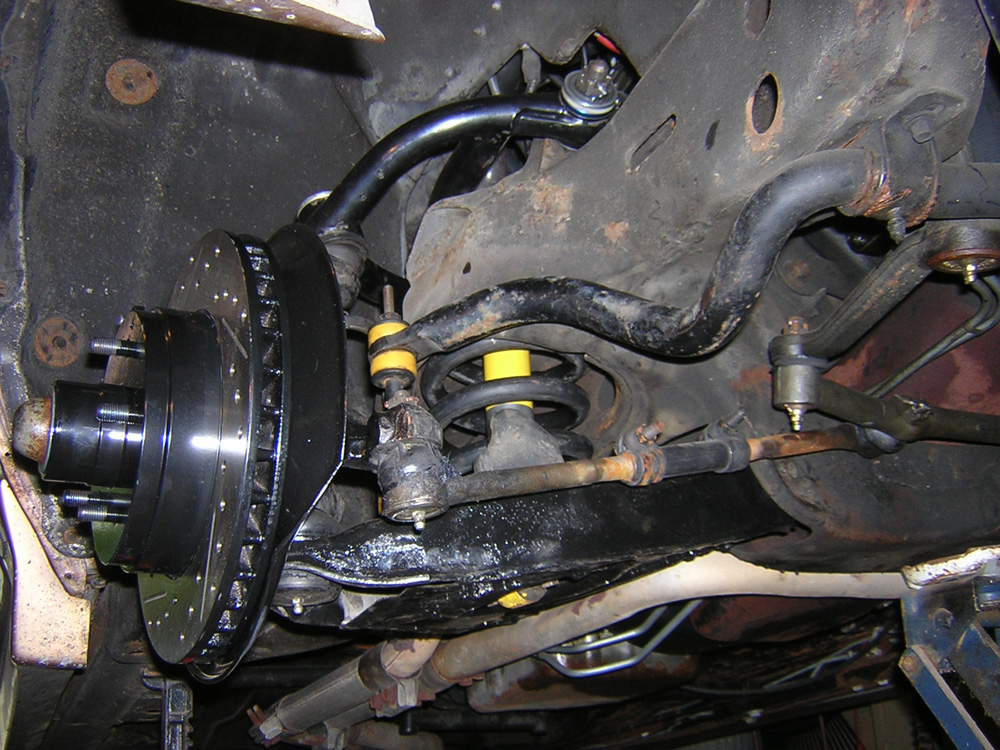
This shows the
Billstein's through the new springs, and the poly sway bar links on
the Turbo Regal 1.25" sway bar. (Monte SS are the same) |
 |
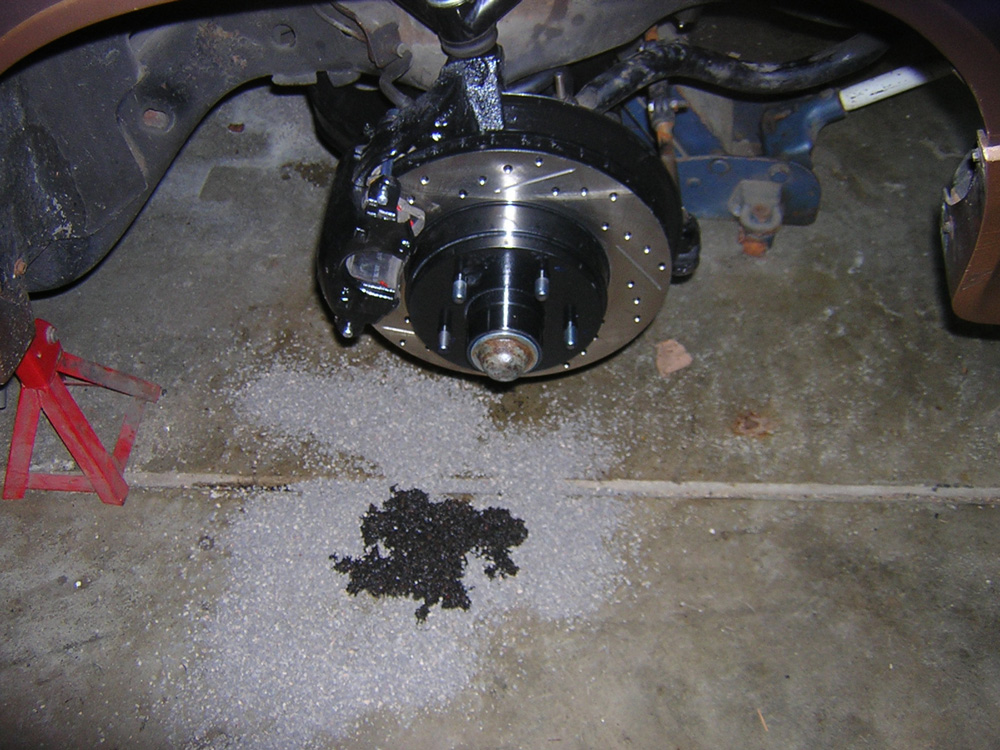
Well, the G-body
rubber brake lines are not going to work. They leak at the calipers,
because they need to have an angle on the banjo fitting. they started
leaking shortly after installing the Master and filling it. |
 |
There was one
hose on the calipers that Mike sent, and after studying them, the banjo
end is clearly different. For $10, I am going to get new hoses. The ones
on
the Elky
were recent,
but just won't work. |
 |
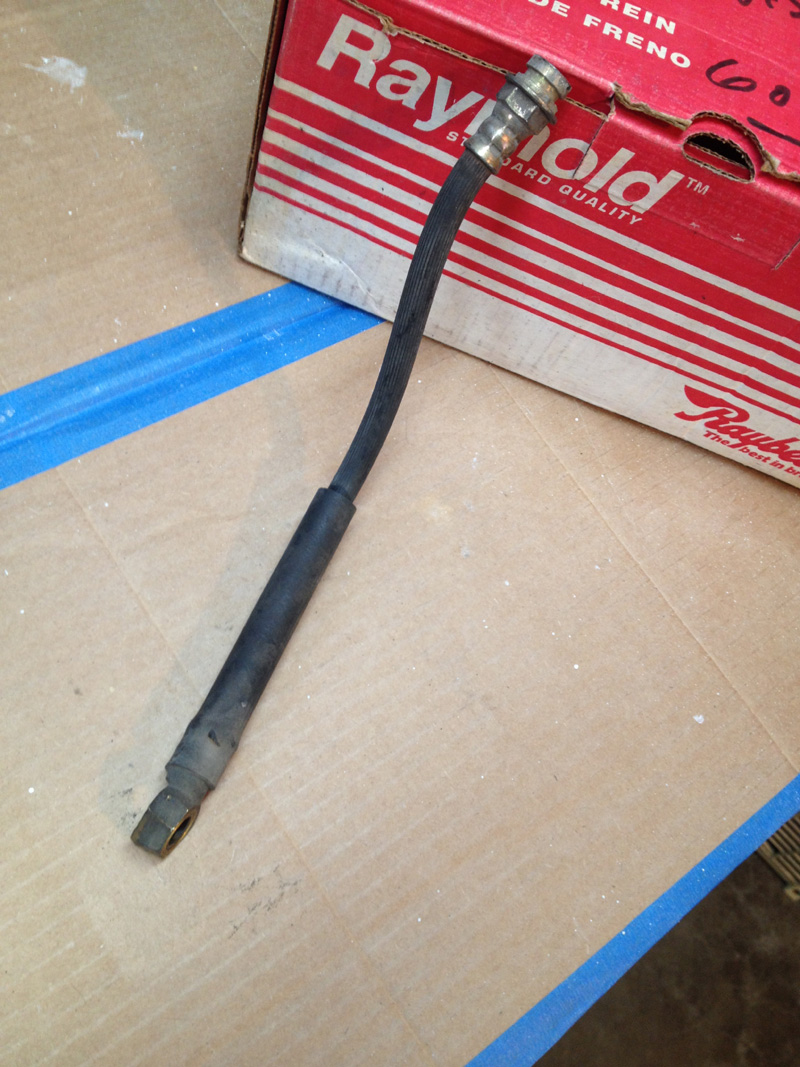
This is a shot
at the angle. The 11.75" lines from a 1994 Caprice are what I ended
up with after matching the supplied hose up at the parts store. I really
de3pend on these guys with all the screwy changes I have made to this
vehicle. Thompson's Auto
Supply. |
 |
8/19/15
The new brake lines are installed. These are Dorman (Parts Master) part
#BH380095. So far so good.
|
 |
Changing to these lines,
I broke one steel line at the fitting. Fortunately it was the driver's
side and is only a few inches long. I had the Inline Tube new part in
my stash in the rafters of the garage, from when I bought the whole set
and have only replaced the rear lines. |
 |
Bleeding the
lines on 8/20/15 Final assembly, and test drive. |
 |
Left front, much lower than before with the spring change. |
 |
After the test drive. Not as much difference as I was hoping, but the
pads have not bedded in. Also, I need to check the vacuum supply to the
booster. There may have been an issue here before the switch. |
 |
Better looking, lower stance with the Global West Lowering springs. |
 |
The daily driver, and
the work truck. I performed the operation without hurting myself!
Life
is good. |
 |
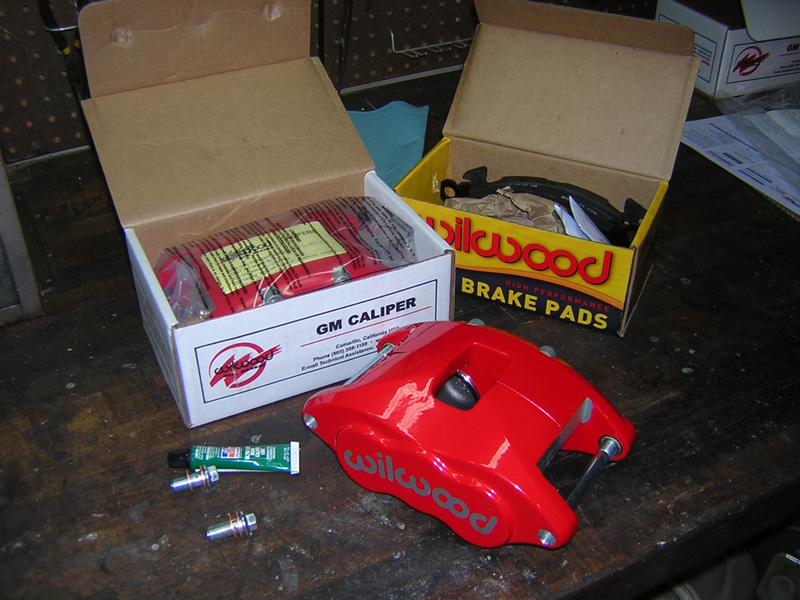
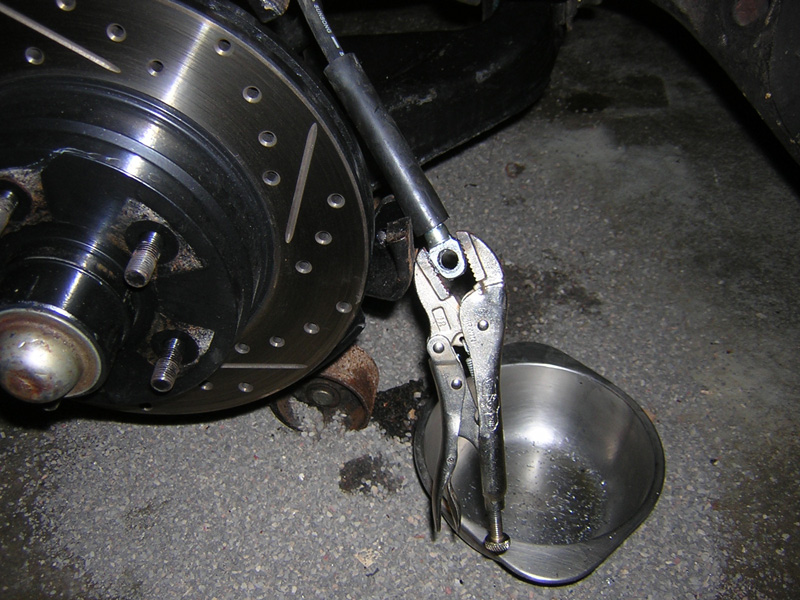
9/10/15
Uh Oh......
The brake went to the floor a few days after getting it all together.
I had
a fountain
at the brake bleeder repair kit on the Driver
Caliper. Probably a crack in the cast iron. Not willing to fiddle with
stock calipers, and my wife's comment that "You should get the red ones"
pretty much sealed the deal. So I ordered Wilwood D52 style calipers. |
 |
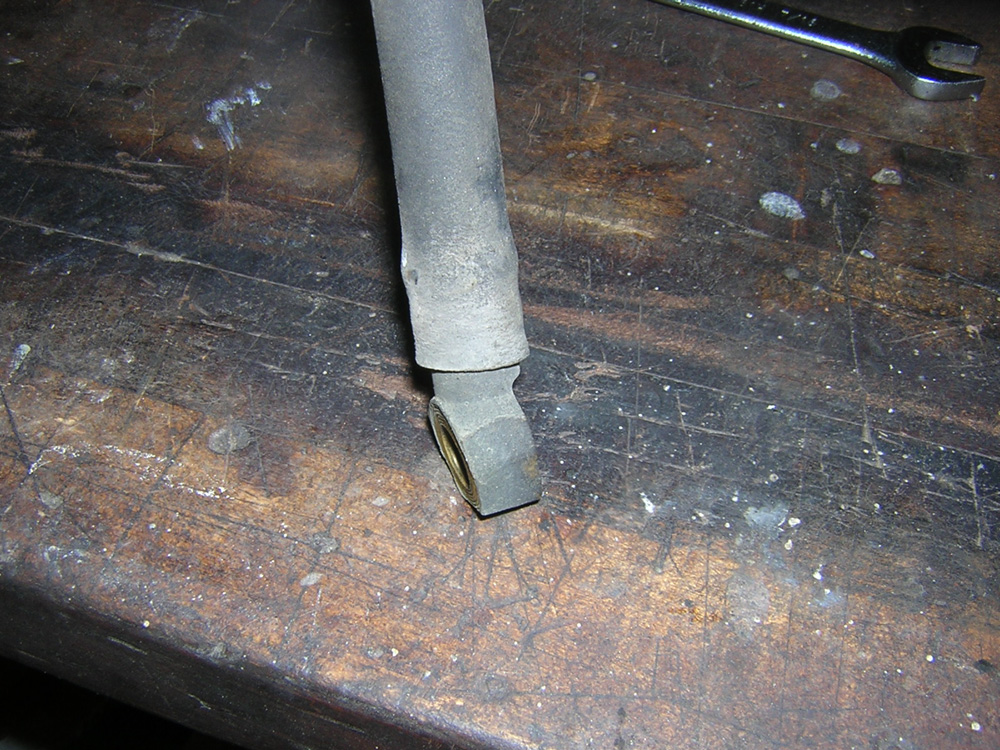
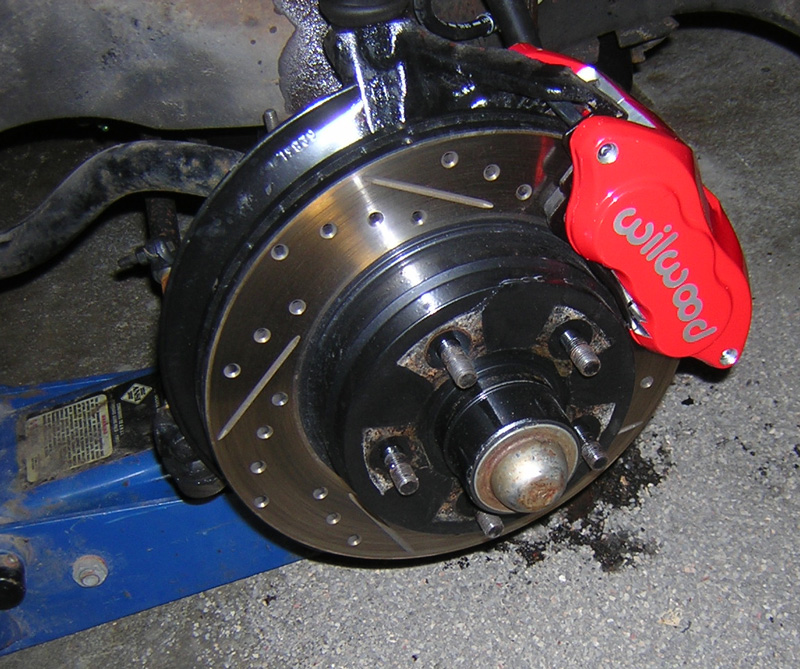
The banjo fitting was
for 10 mm bolts, and the new calipers used the 7/16" version. So I drilled
out the banjo fittings a bit. If you have to do this, put it in a vice
before putting it on the car... Don't do as I did. It was tough to get
it to keep from weeping at the caliper even with the new copper washers. |
 |
They look GREAT! |
 |
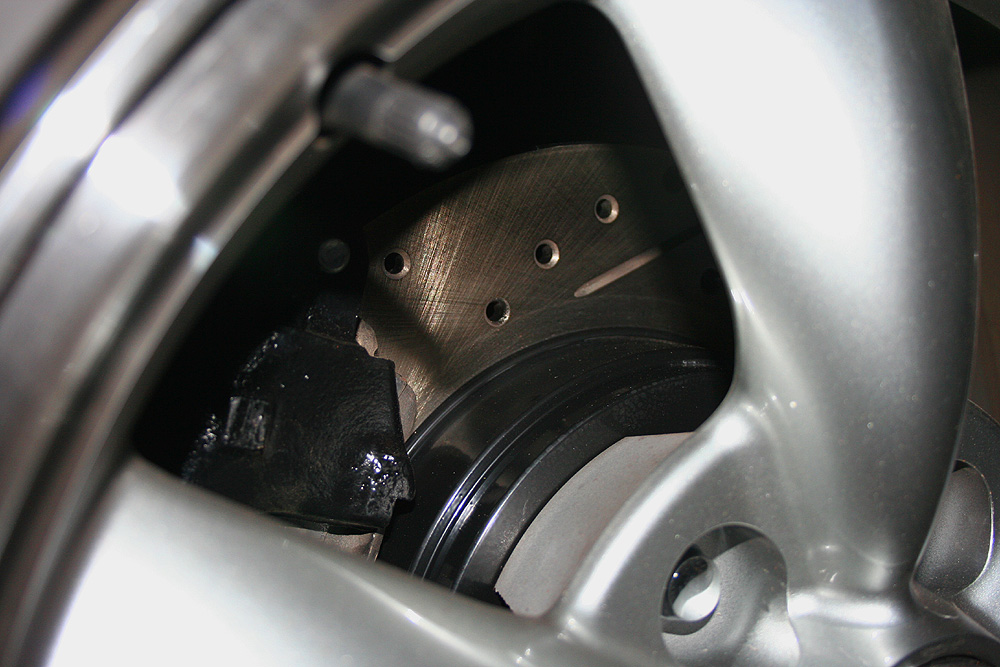
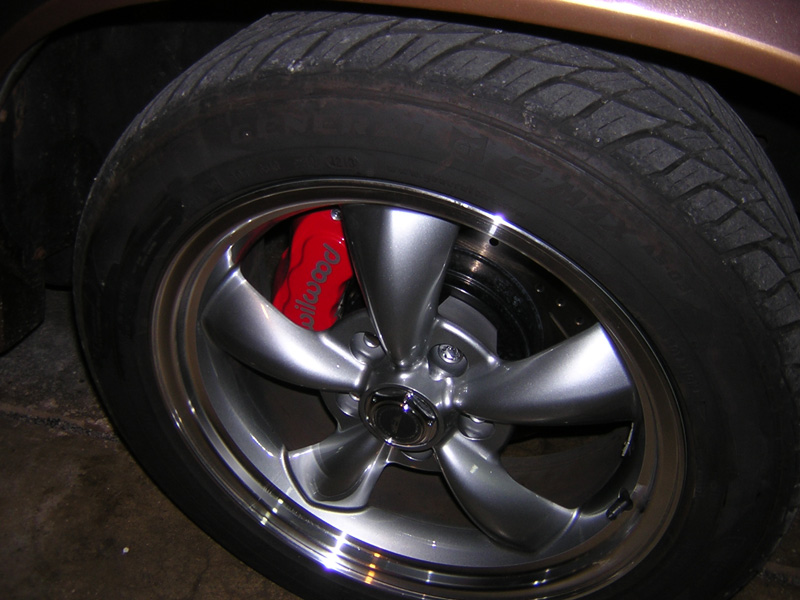
Even better with the
wheels on. The first test drive was great. Only about 12 blocks, but
they were biting down hard by the end of that short drive. I'll break
them in tomorrow. 9/15/15 |
| |
|
| |
|